If you were not issued a digital ID card but you want to have one, you can add a self-issued digital ID card for your institution in our app (unless this institution has put restrictions on self-issuance). All self-issued cards are non-verified and are designed for personal use only. By adding a self-issued ID card, you agree to our terms and conditions.
If you were issued a digital ID card, please follow these steps instead to install your card.
Step 1: Download the App
Download the ID123 app from the App Store if you have an Apple device or from Google Play if you have an Android device.


Step 2: Register
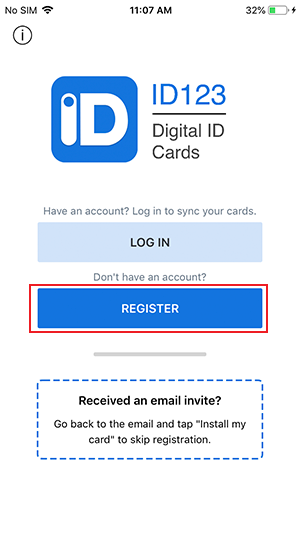
- Open the app and click on “Register” to create a new account with your email address.
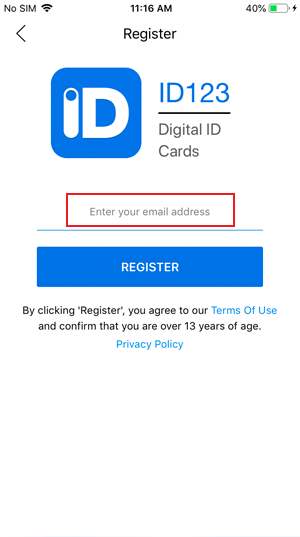
- Enter an email address that you want to register with to create your account.
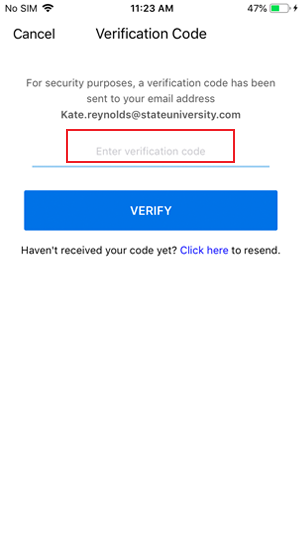
- Enter a verification code sent to the email address you provided (this may take a few seconds) and press “Verify”.
Step 3: Search for Your Institution
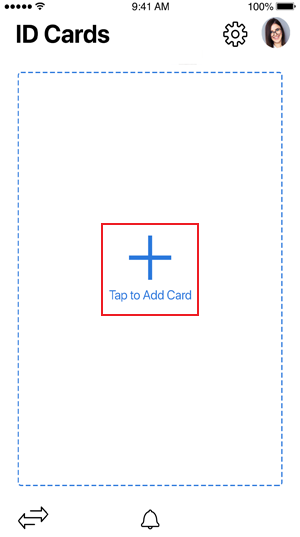
- Tap on “Add Card”
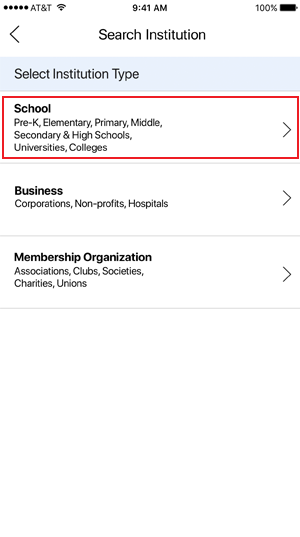
- Select your institution type
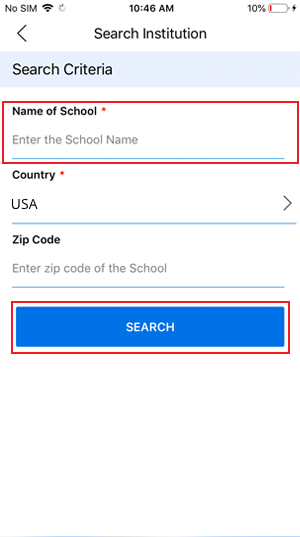
- Enter your institution’s name and press “Search”
- Select your institution

If you can’t find your institution, fill out the form to submit a request to Add your Institution into our directory. Once it’s added, you can continue to the next step.

Step 4: Fill Out Your Card Details
Fill out any required information.

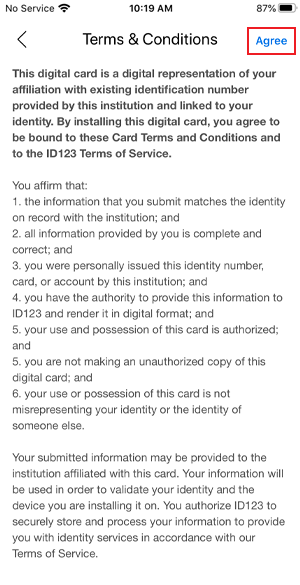
Step 5: Agree to Terms & Conditions
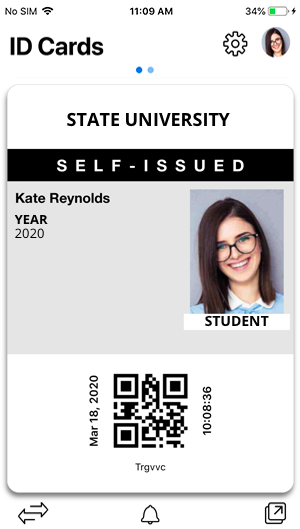
You’re done!
Your digital ID card is ready.
.
.