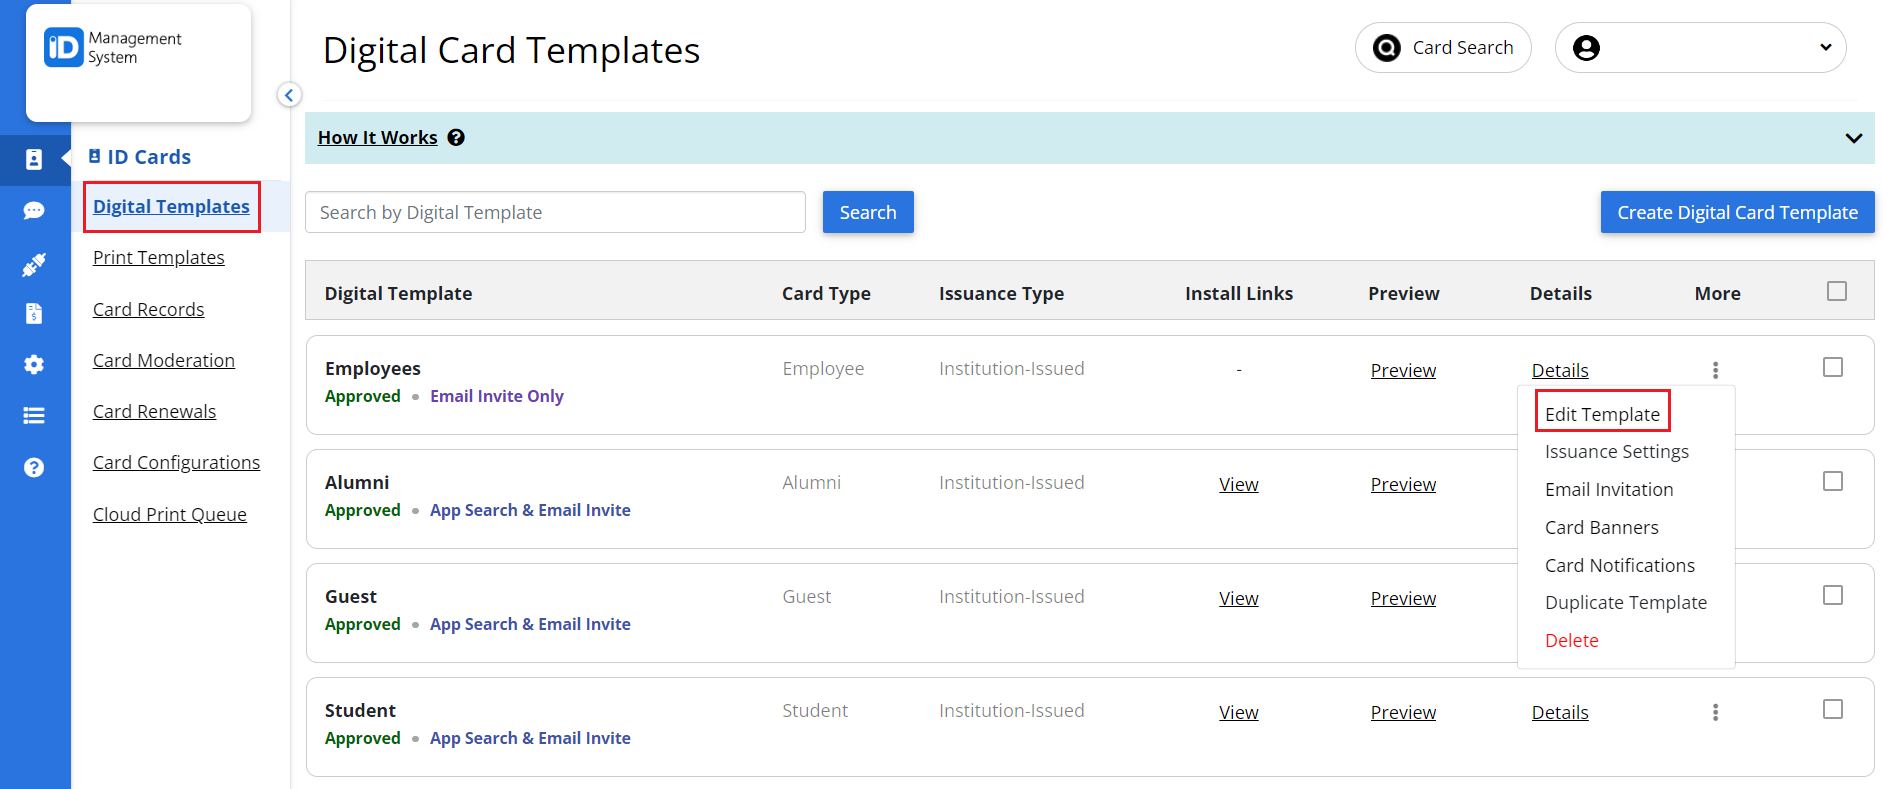
Step 1: Navigate to “Card Templates”
Log in to your IDMS account and under the ‘More’ column, click the three dots on the desired template, then click ‘Edit Template’.

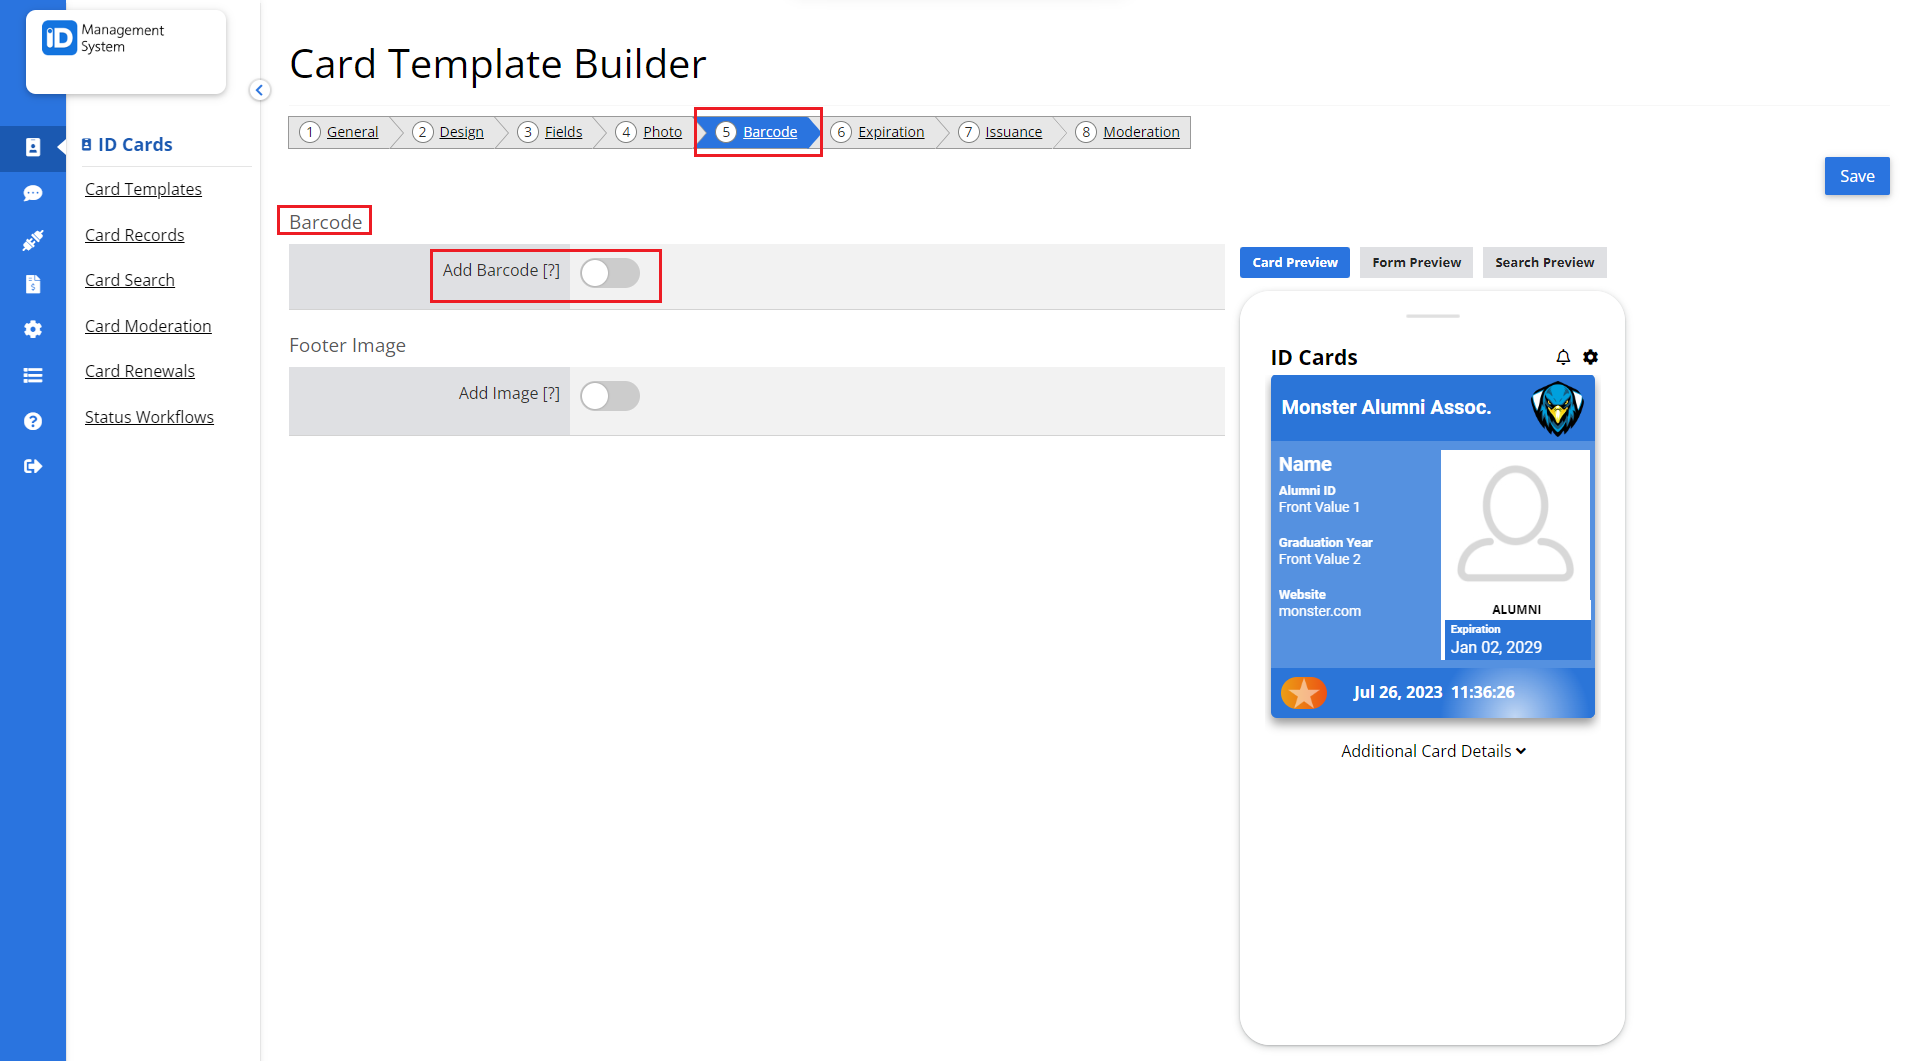
Step 2: Navigate to the “Barcode” Tab
Click the “Barcode” tab at the top of the page.

Step 3: Enter the Barcode Details
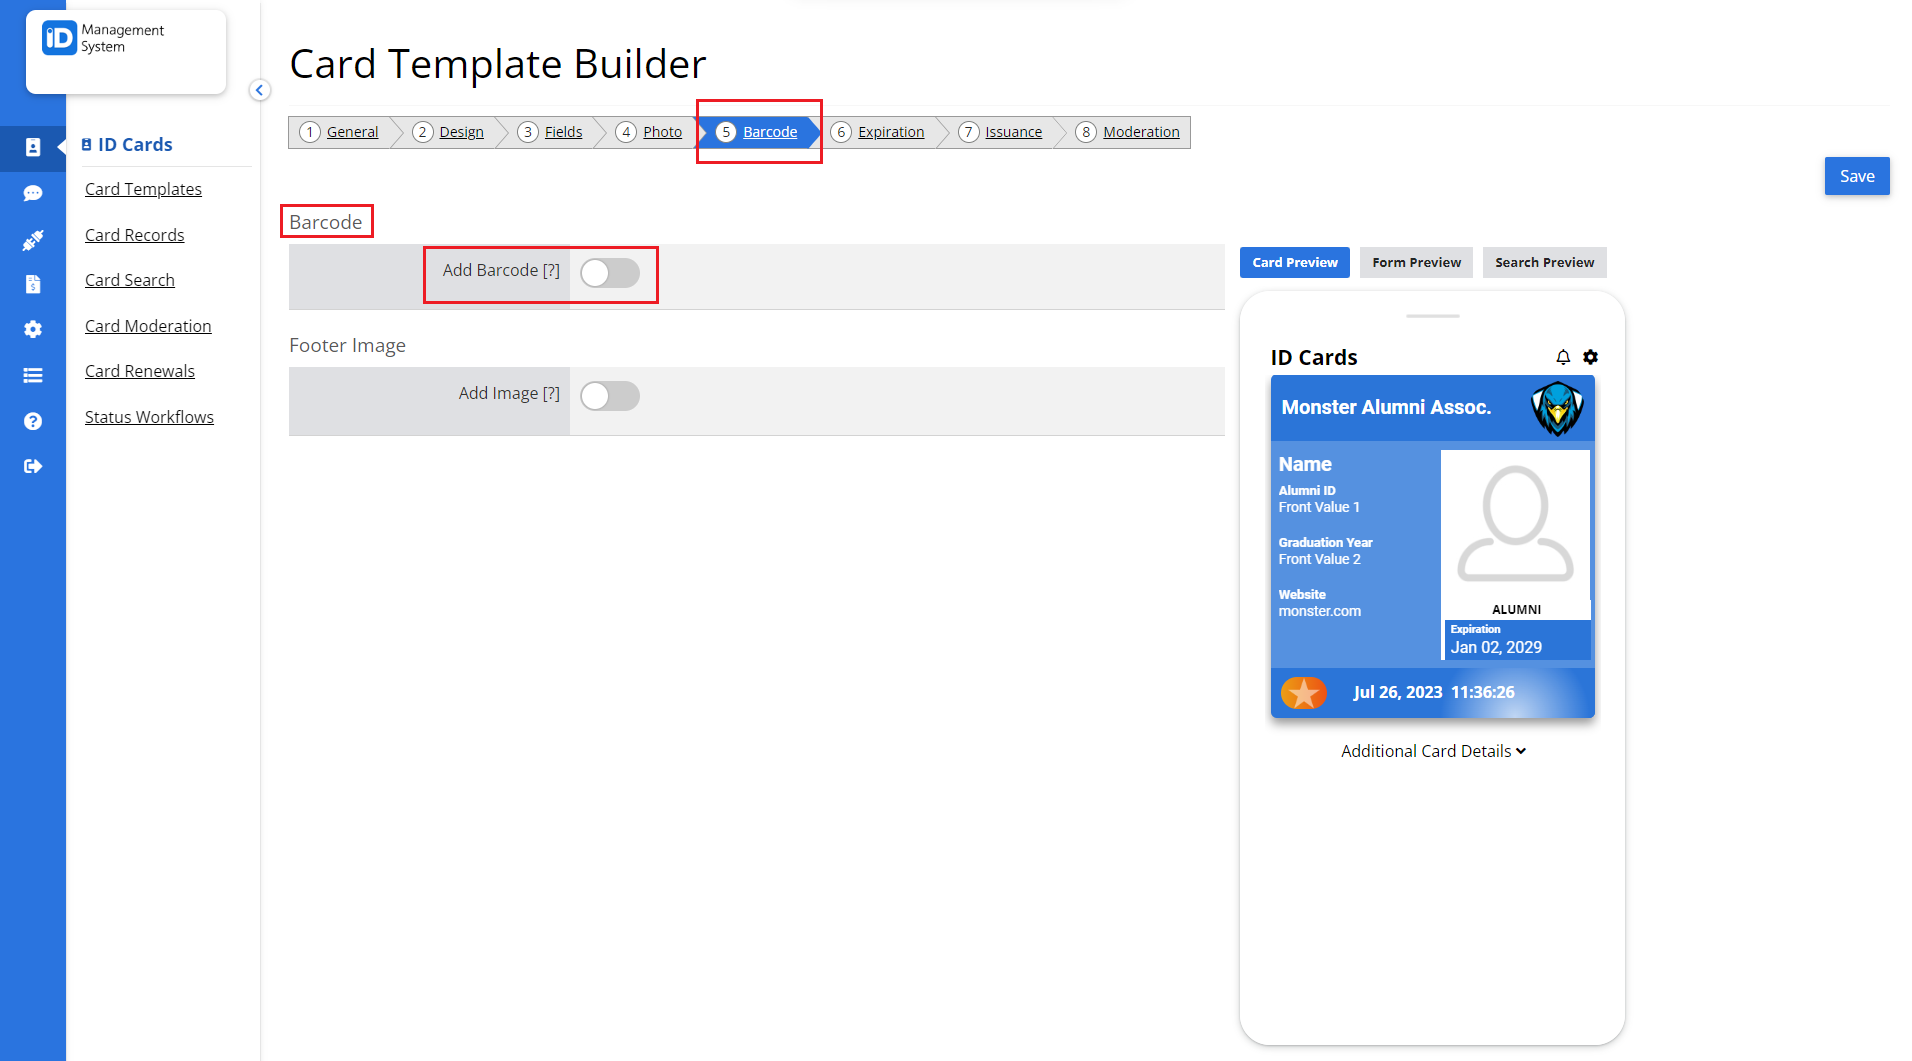
Enable the “Add Barcode” feature to display a barcode on the ID card.

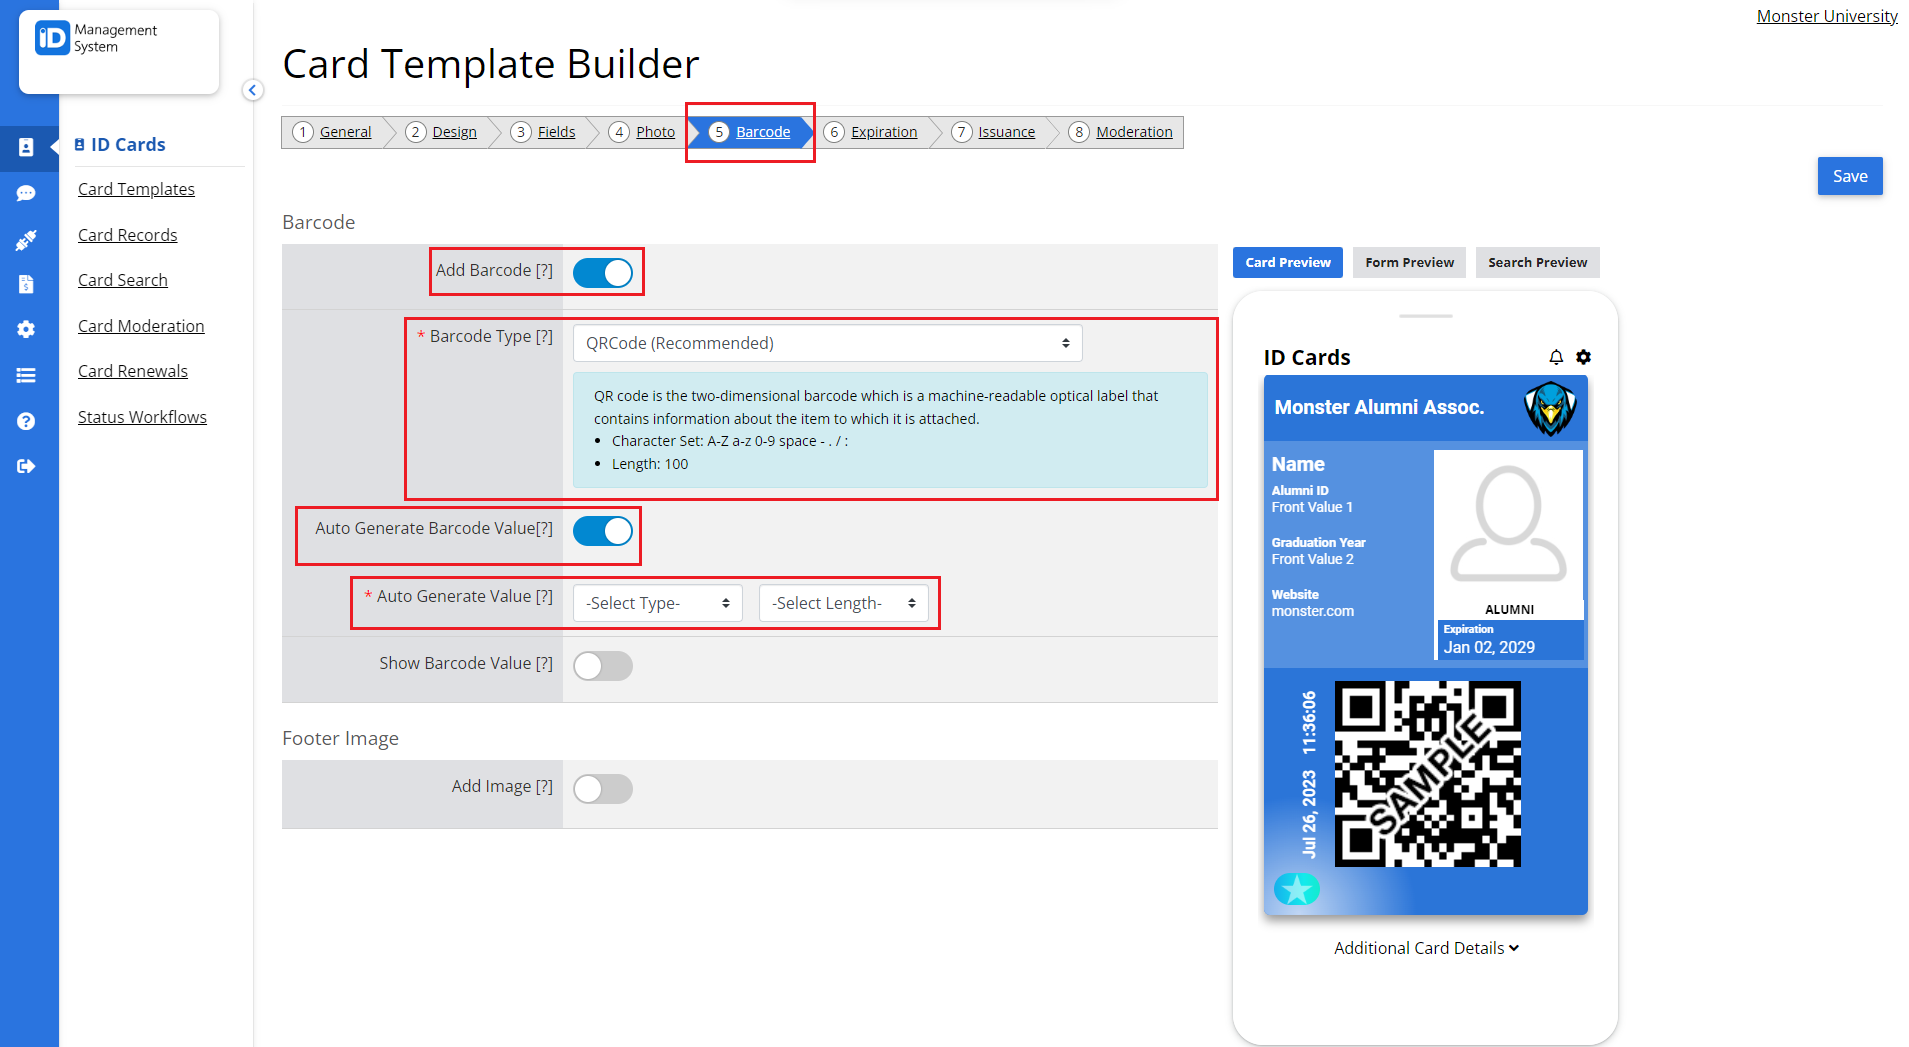
Once you enable the “Add Barcode” feature, you have two options to set up your barcode:
Option 1: If you’d like to auto-generate a barcode value, enable the “Auto Generate Barcode” option. You can select the barcode type that’s compatible with your barcode scanning device. On the “Auto Generate Value” field, select the type and length that the auto-generated barcode will be. To display the barcode value on the ID card you can enable the “Show Barcode Value” feature. Once enabled, the barcode value will appear below the barcode/QR Code.

Option 2: If you’d like to import your own barcode value for your ID cards, then ensure that the “Auto Generate Barcode” feature is disabled. Then, select the barcode type that’s compatible with your barcode scanning device. Next, choose whether the expected barcode value data type is alphanumeric or numeric. Lastly, you can decide where the data for the barcode value will be coming from in the “Barcode Value Data Source” field. The barcode value can be a fixed value that appears the same on every card, an imported value, or submitted by the cardholder in the app. To display the barcode value on the ID card you can enable the “Show Barcode Value” feature. Once enabled, the barcode value will appear below the barcode/QR Code.

That’s all! If you have any questions regarding Adding a Barcode to your ID Cards don’t hesitate to chat with us!
