
Learn how to configure a trigger webhook in the ID123 ID Management System to send real-time data to external systems when a specific event occurs. This guide walks you through each step of the setup, from choosing the events that fire the webhook to mapping your data and configuring authentication.
What is a Webhook?
A webhook is a way for one system to send real-time data to another system whenever a specific event takes place. It works by sending an automated HTTP request to a pre-defined URL. Webhooks are ideal for integrating external applications, enabling them to stay synchronized with your internal data changes.
What is a Trigger Webhook?
A trigger webhook is a type of webhook that activates when a specific event or condition occurs within the ID Management System (IDMS). When the trigger condition is met—such as a new card being created—the webhook sends data to an external service or application via a specified URL.
Before You Begin: Open the Webhook Creation Page
- Log into your IDMS admin account.
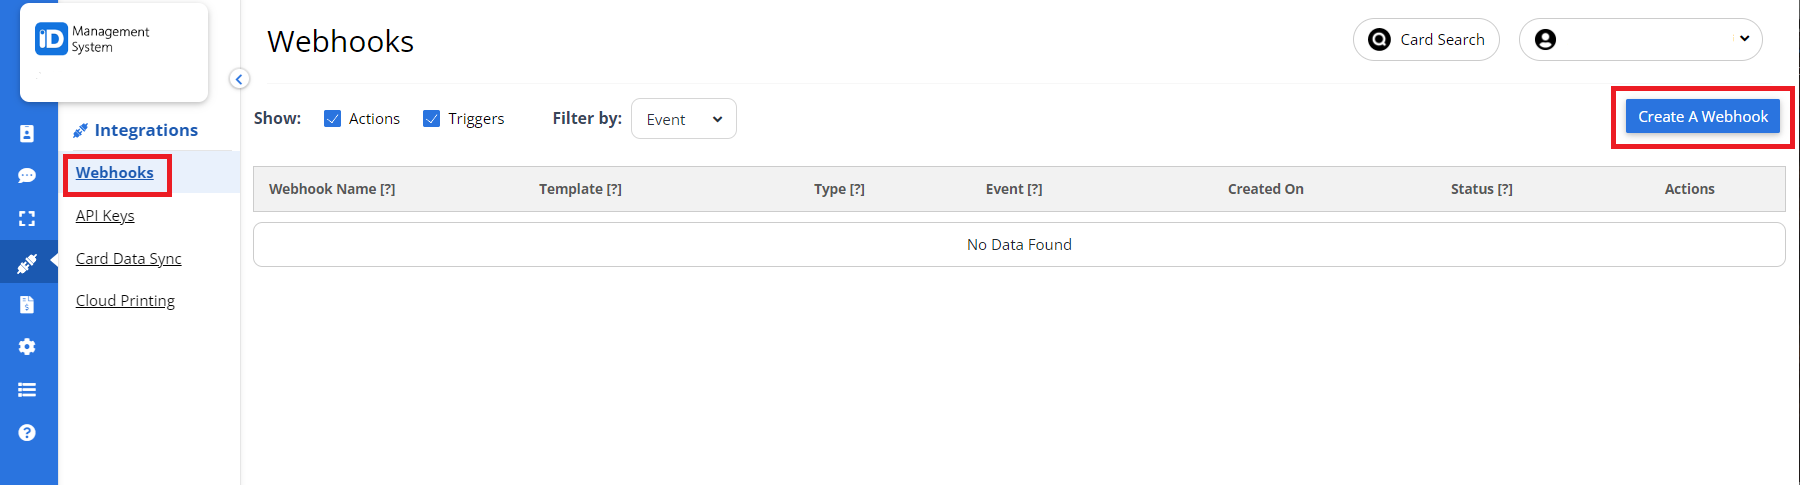
- In the left-hand navigation panel, click on “Integrations”.
- Select “Webhooks” from the options.
- Click the “Create A Webhook” button to begin the setup process. The setup has three steps: Webhook Type, Data Mapping, and Authorization.
Step 1: Webhook Type
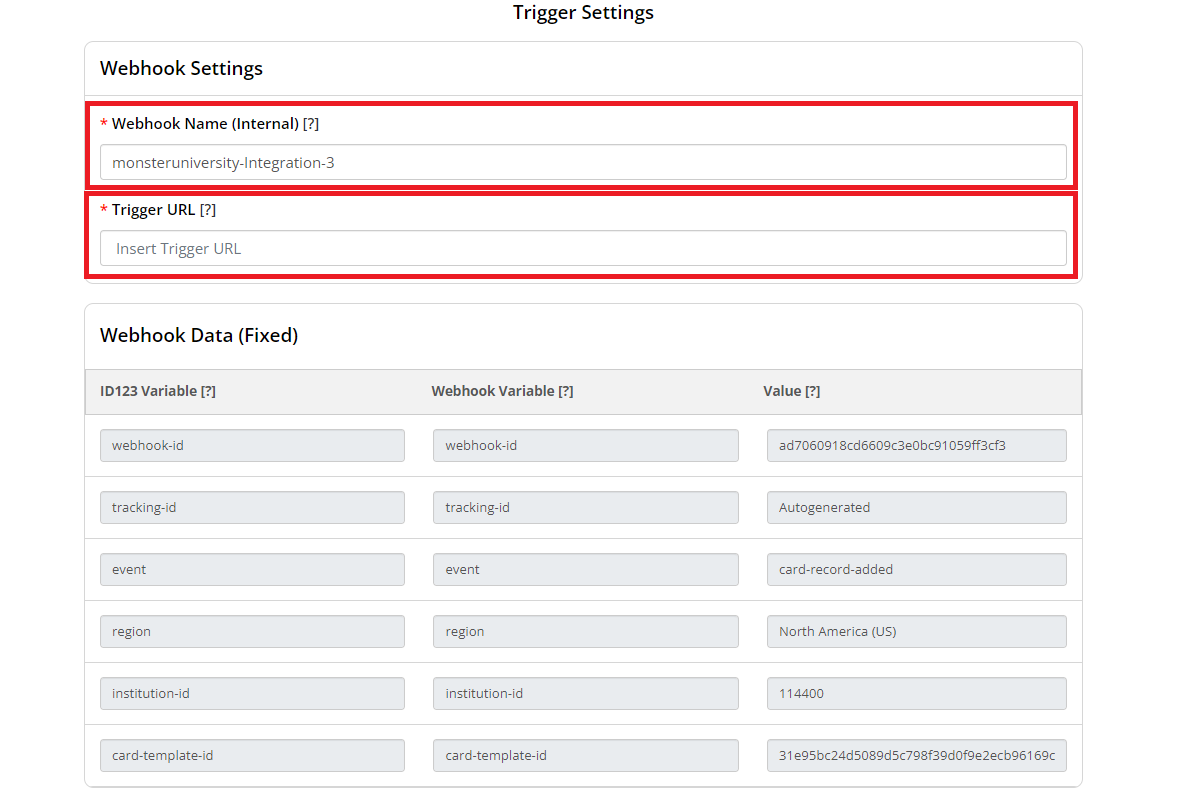
- Enter a Webhook Name. This internal label helps you identify the webhook in the webhooks table.
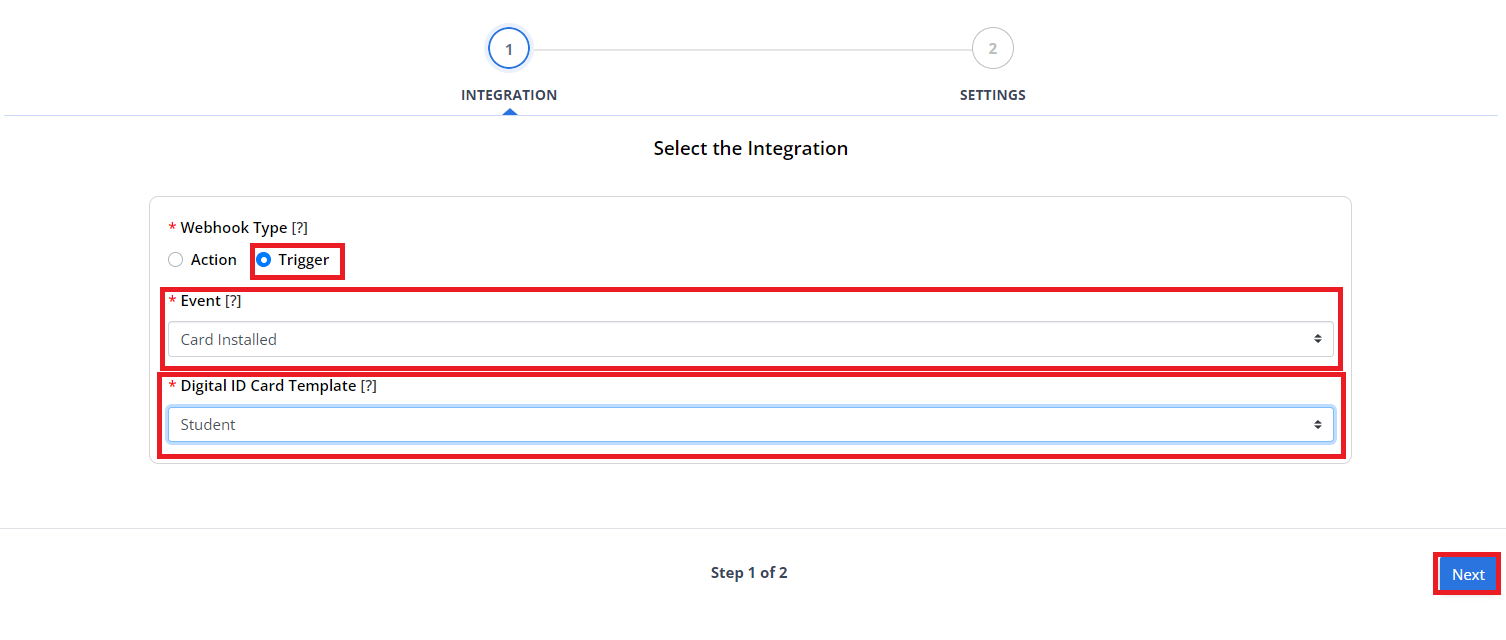
- Under Webhook Type, select Trigger. A trigger webhook automatically sends data from the IDMS to an external system when an event occurs.
- Under Select which events should fire this webhook, choose one or more event categories: Card Record Events, Card Status Events, Card Print Events, Barcode Scanner Events, or Card Moderation Events. Hover over a category to see all of the triggers it includes.
- Under Card Record Group Selection, choose which card record groups this webhook applies to:
- All Card Record Groups (default): the webhook fires for events in every card record group.
- Specific Card Record Groups: select a card record group from the dropdown. The webhook fires only for events in that group.
- Once configured, click “Next” to continue.
Need help choosing event categories?
Refer to our Webhook Event Definitions Guide for details on all supported trigger events.
Step 2: Data Mapping
- A summary at the top of the step shows your webhook name, webhook type, and selected events.
- The Webhook Events section lists the
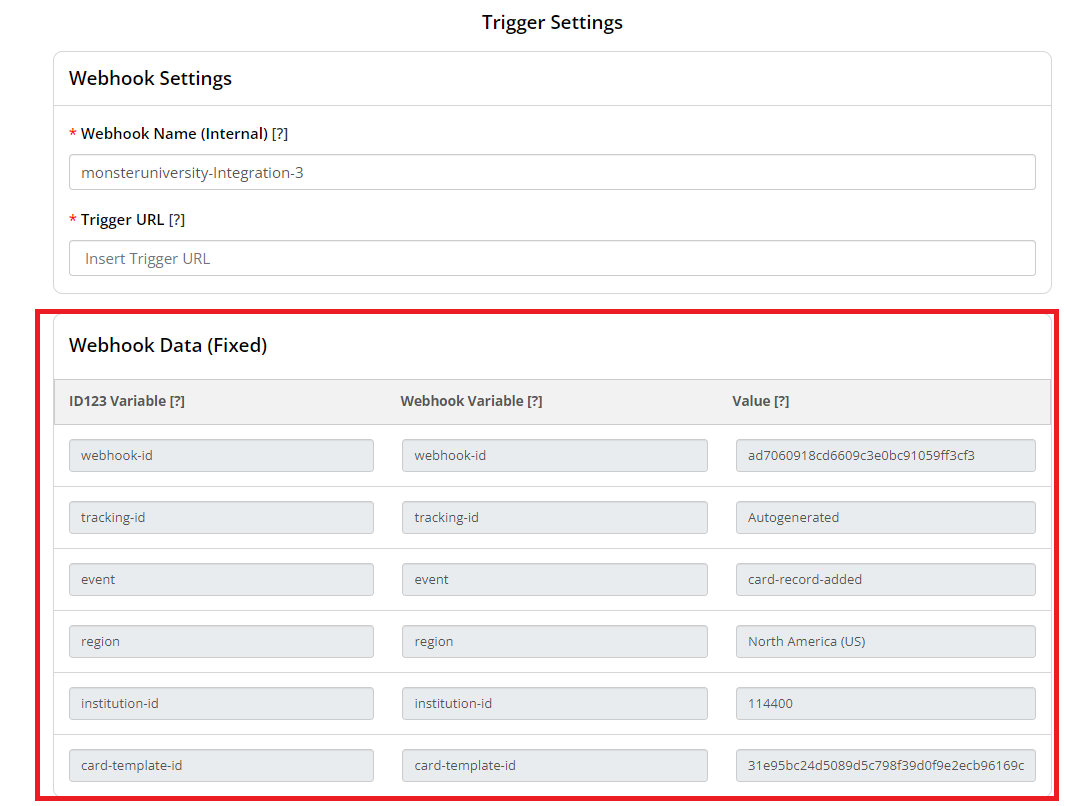
eventvalues included in the categories you selected (for example,addedandupdatedfor Card Record Events). To leave out an event value you don’t need, click the trash icon next to it. - The HTTP Headers section lists system fields that are pre-populated for your account and always sent as HTTP request headers with every webhook call:
webhook-id,tracking-id,region,institution-id, andinstitution-name. - If your receiving system also needs any of these values in the JSON request body (for example, for logging or downstream mapping), check the Also Include In Body box next to that field. Unchecked fields (the default) are sent in the headers only. Including a field in the body never removes it from the headers.
Map Your Webhook Data Fields
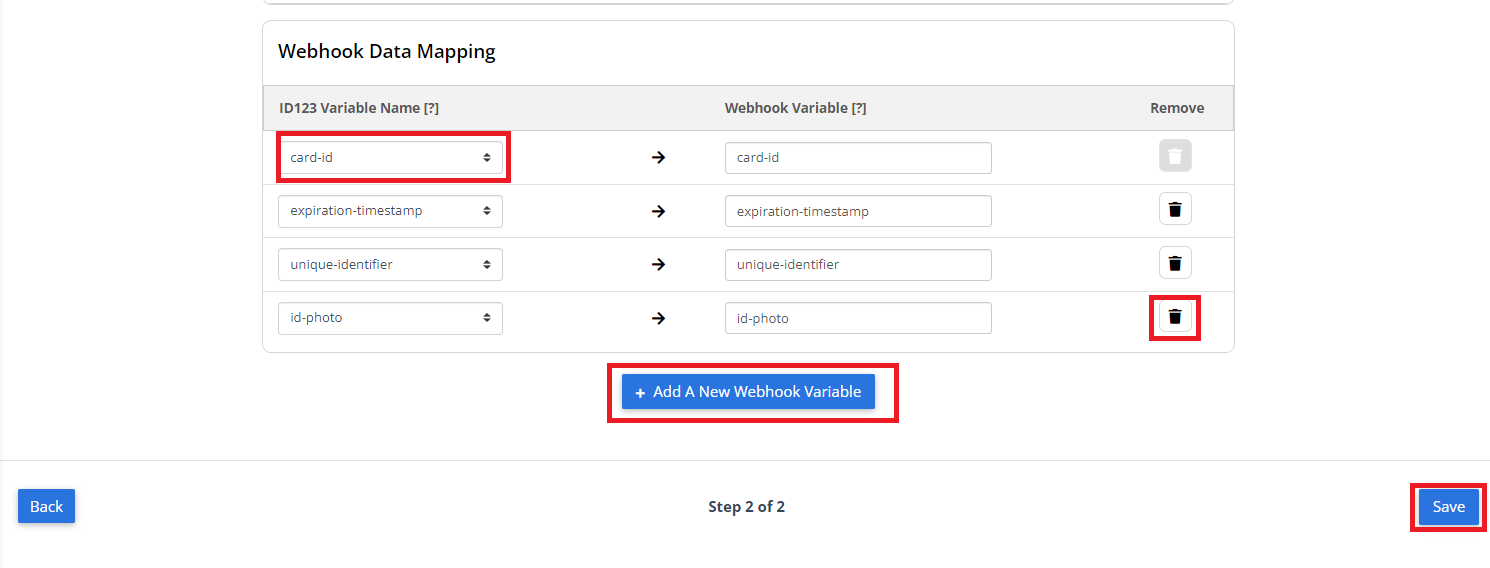
Below the HTTP Headers section, use the Webhook Data Mapping section to choose the card data you want to send in the request body.
- Every available ID123 variable for your card record group is mapped by default. In the Payload Variable column, change any name to match what your external application expects.
- To remove a field you don’t want to send, click the trash icon next to it. The
card-idfield is required and can’t be removed. - To add a field back, click Add New Data Mapping Row, search for the ID123 variable by name, and click Add.
- To change your events or card record groups, click Back to return to Step 1. When your mapping is complete, click Next.
Step 3: Authorization
- Enter the Trigger URL. This is the endpoint URL of the external system that will receive the webhook data.
- Make sure the receiving system is ready to accept webhook requests at this URL.
- Select the Authorization Header Type your receiving system requires:
- None: no authorization header is sent with the request.
- API Key: the Authorization Header Name is pre-filled with
X-Api-Key. Enter the API key from your receiving system in the Authorization Header Value field. - OAuth 2.0: enter the Client Secret, Client ID, Supported Scope, and Access Token URL from your receiving system, and confirm the Trigger API URL. The IDMS uses these credentials to get an access token and sends it in the
Authorizationheader asBearer <access_token>. Click Test Connection to check the credentials before you save.
- Click Save. Your new trigger webhook appears on the Webhooks page.
Final Notes on Webhook Configuration
- Ensure your receiving system is prepared to accept webhook requests at the provided URL.
- Only valid card record groups and supported events will result in successful webhook triggers.
- Webhooks can be edited later from the Webhooks dashboard within IDMS.