Enabling physical ID card printing in your ID123 account allows you to generate professional, scannable ID cards using a cloud-based printing system. This guide walks you through each step of the process—from activating cloud print integration to designing and printing ID cards.
Step 1: Access the Cloud Printing Integration
To begin setting up physical ID card printing:
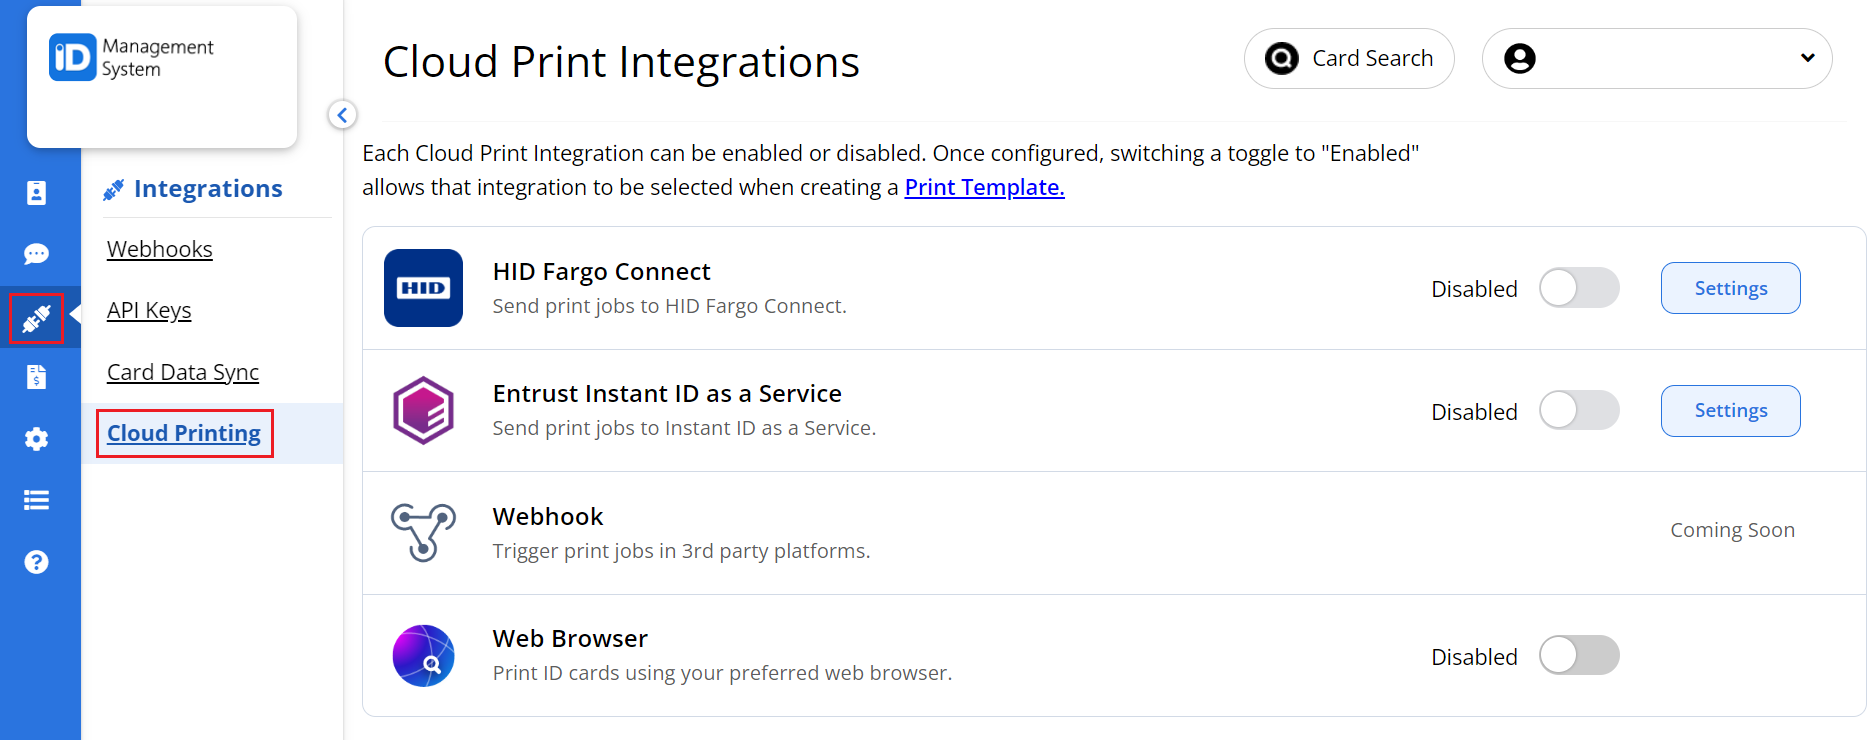
- Log in to your ID123 Administrator Dashboard.
- Navigate to the “Integrations” tab.
- Click on the “Cloud Printing” option.
This section allows you to configure ID123’s cloud-based ID card printing software for desktop web browsers.
Step 2: Enable Cloud Print Integration
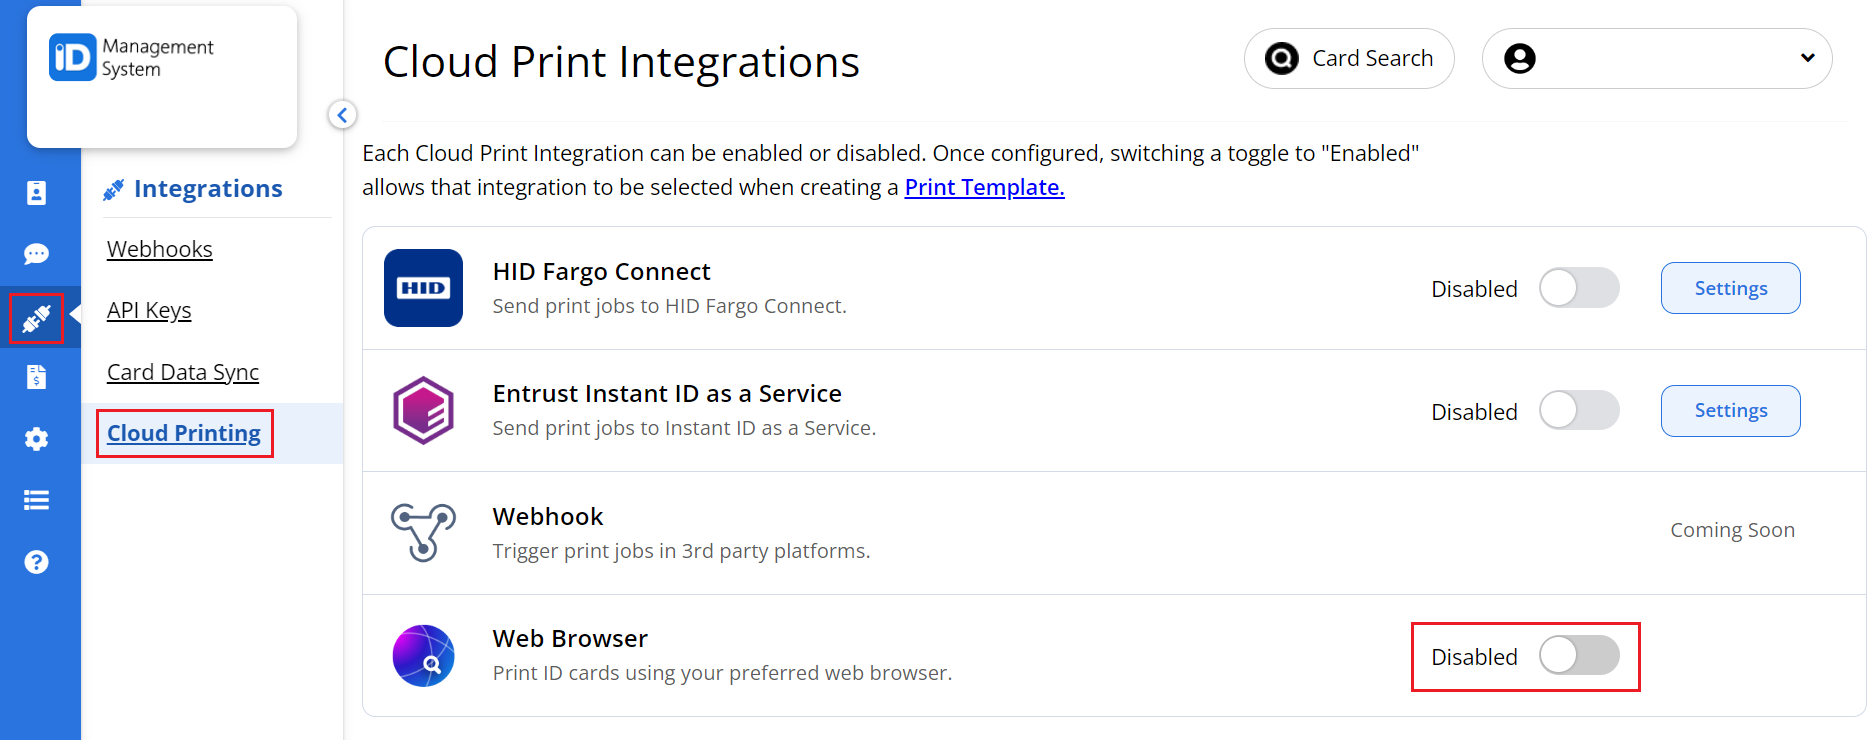
- Locate the “Web Browser” print integration option.
- Click the radio button next to “Enable” to activate it.
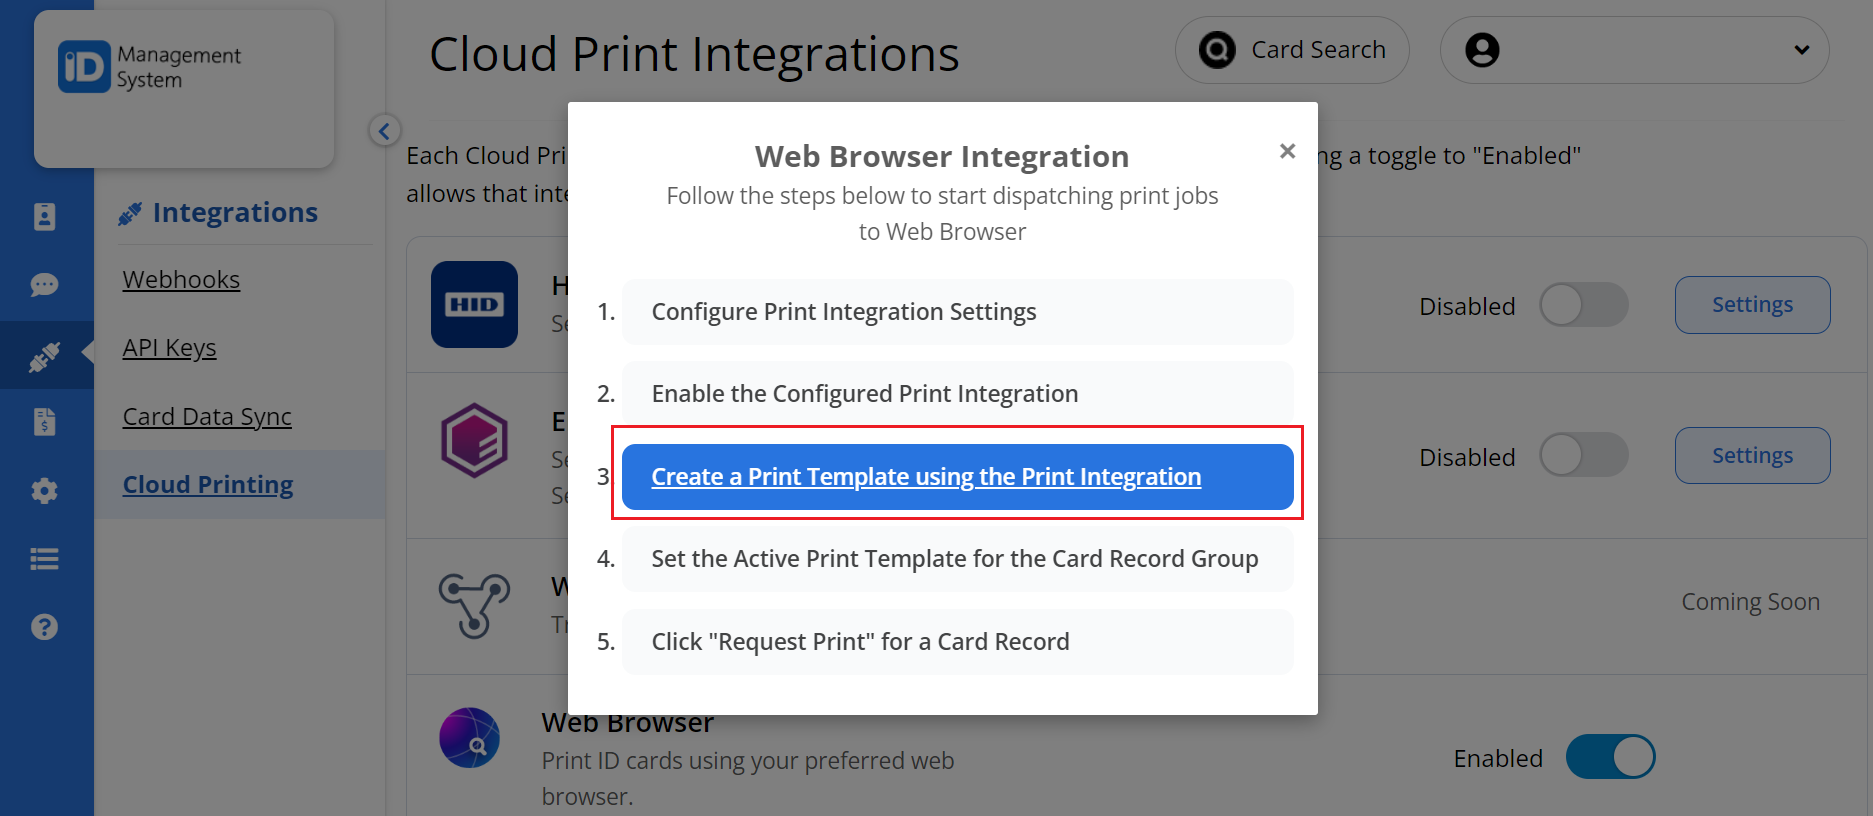
- Once enabled, follow the link provided to create a print template using the print integration tool.
Activating this feature connects your ID management system to the browser-based card printing interface.
Step 3: Design Your Physical ID Card Template
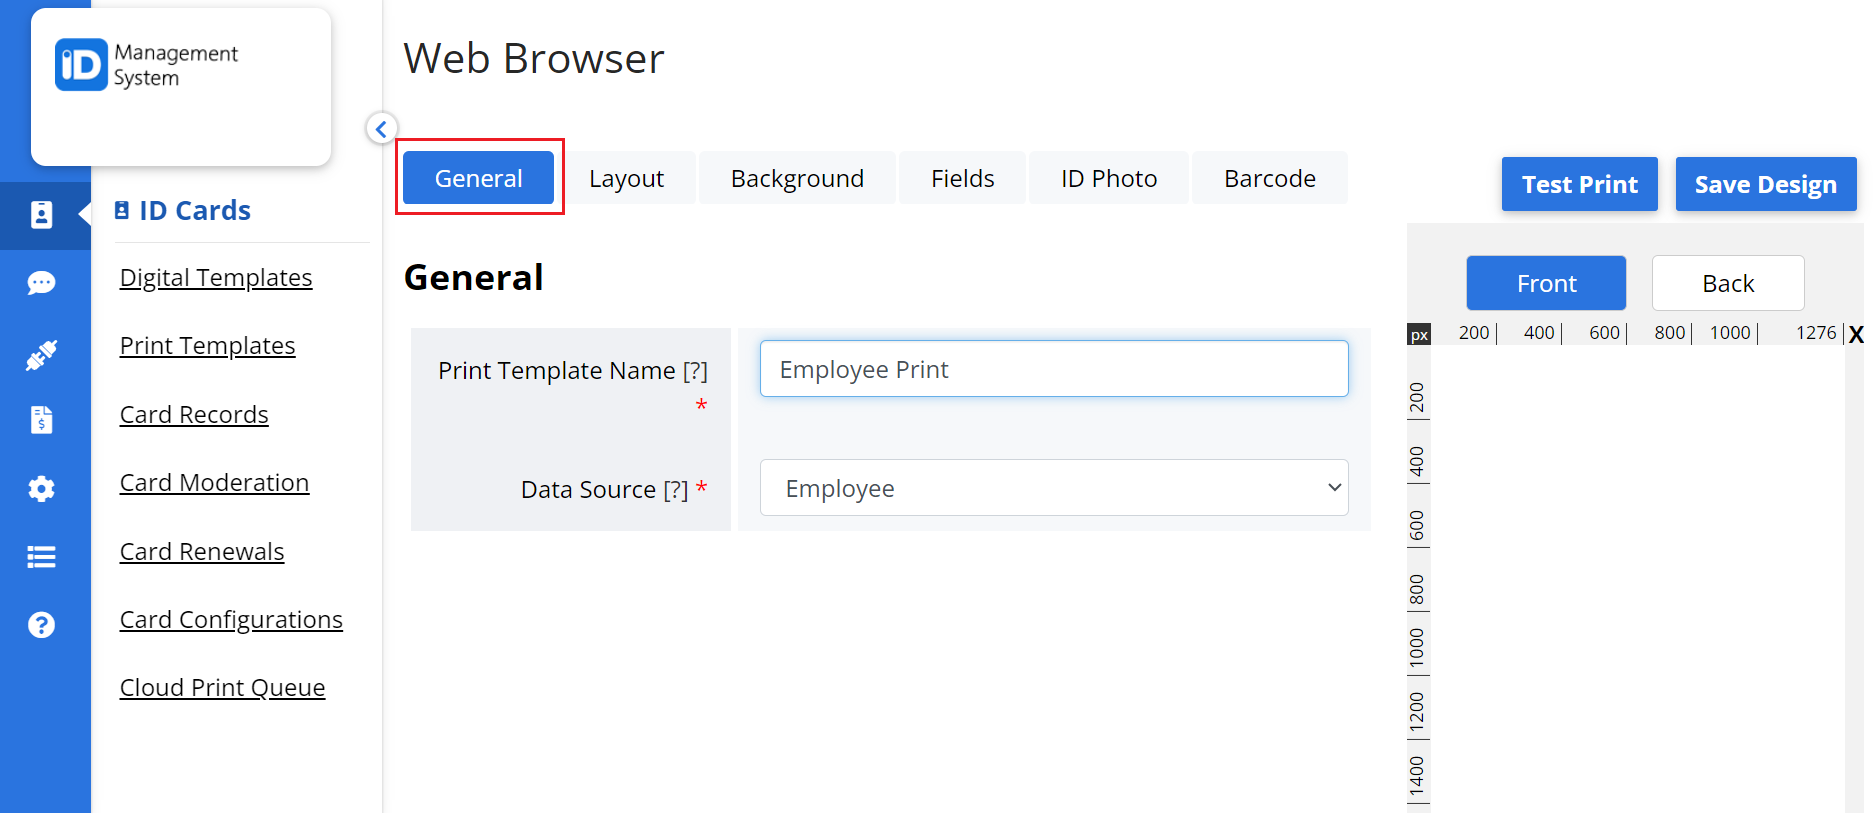
Now it’s time to create and customize the physical card design:
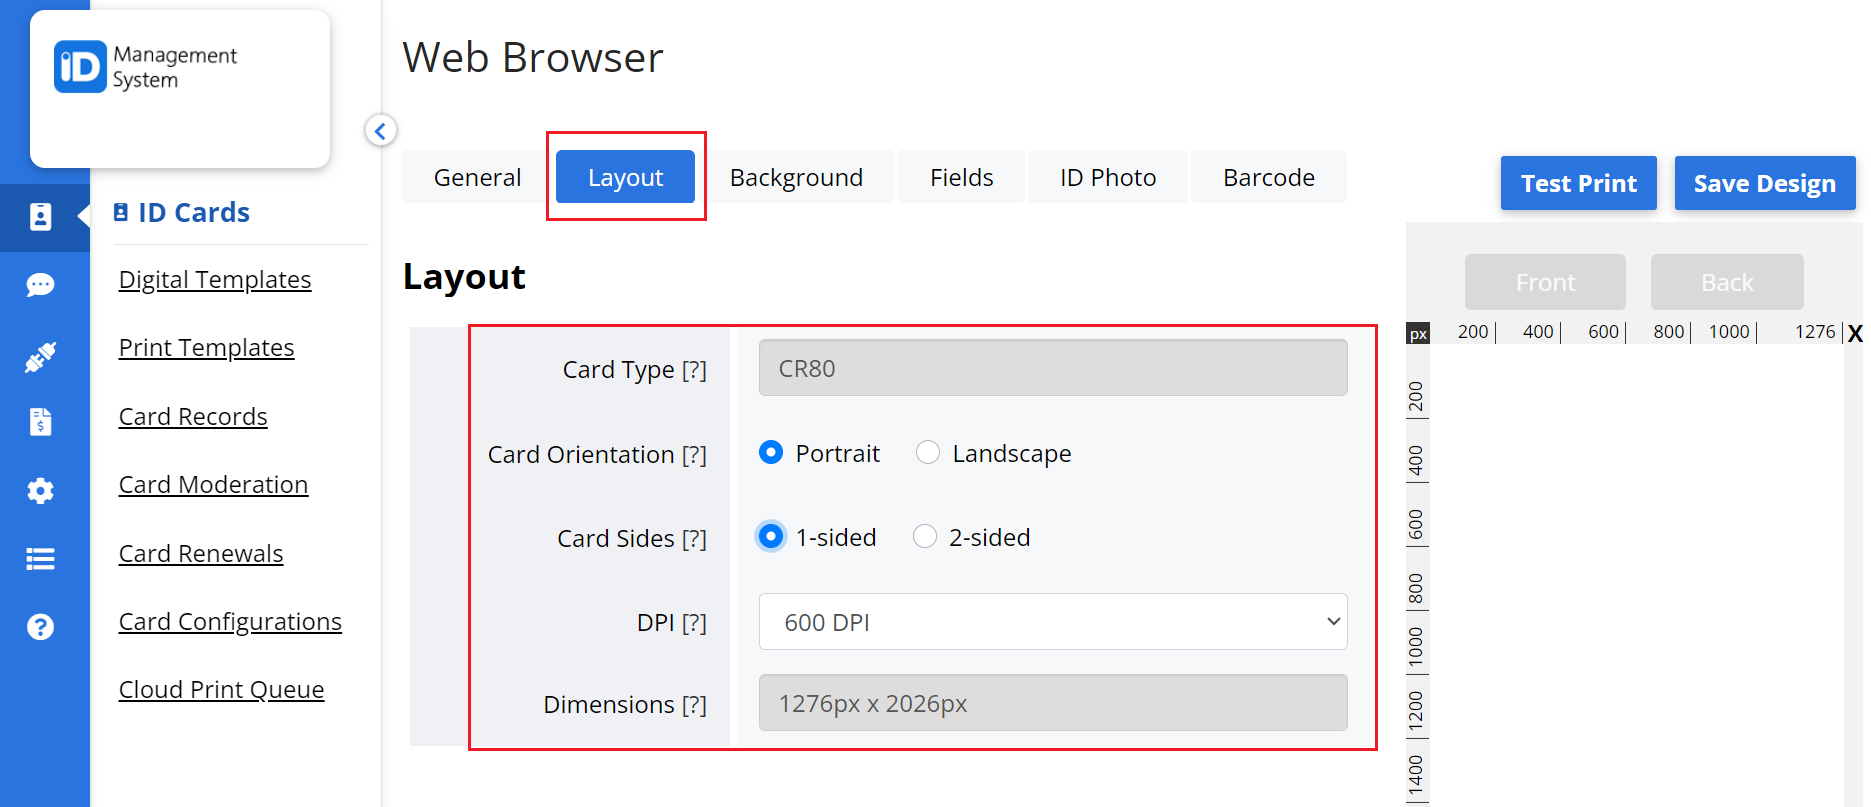
- Set the Layout
- Choose card orientation (portrait or landscape), DPI resolution, and whether the card is single-sided or double-sided.
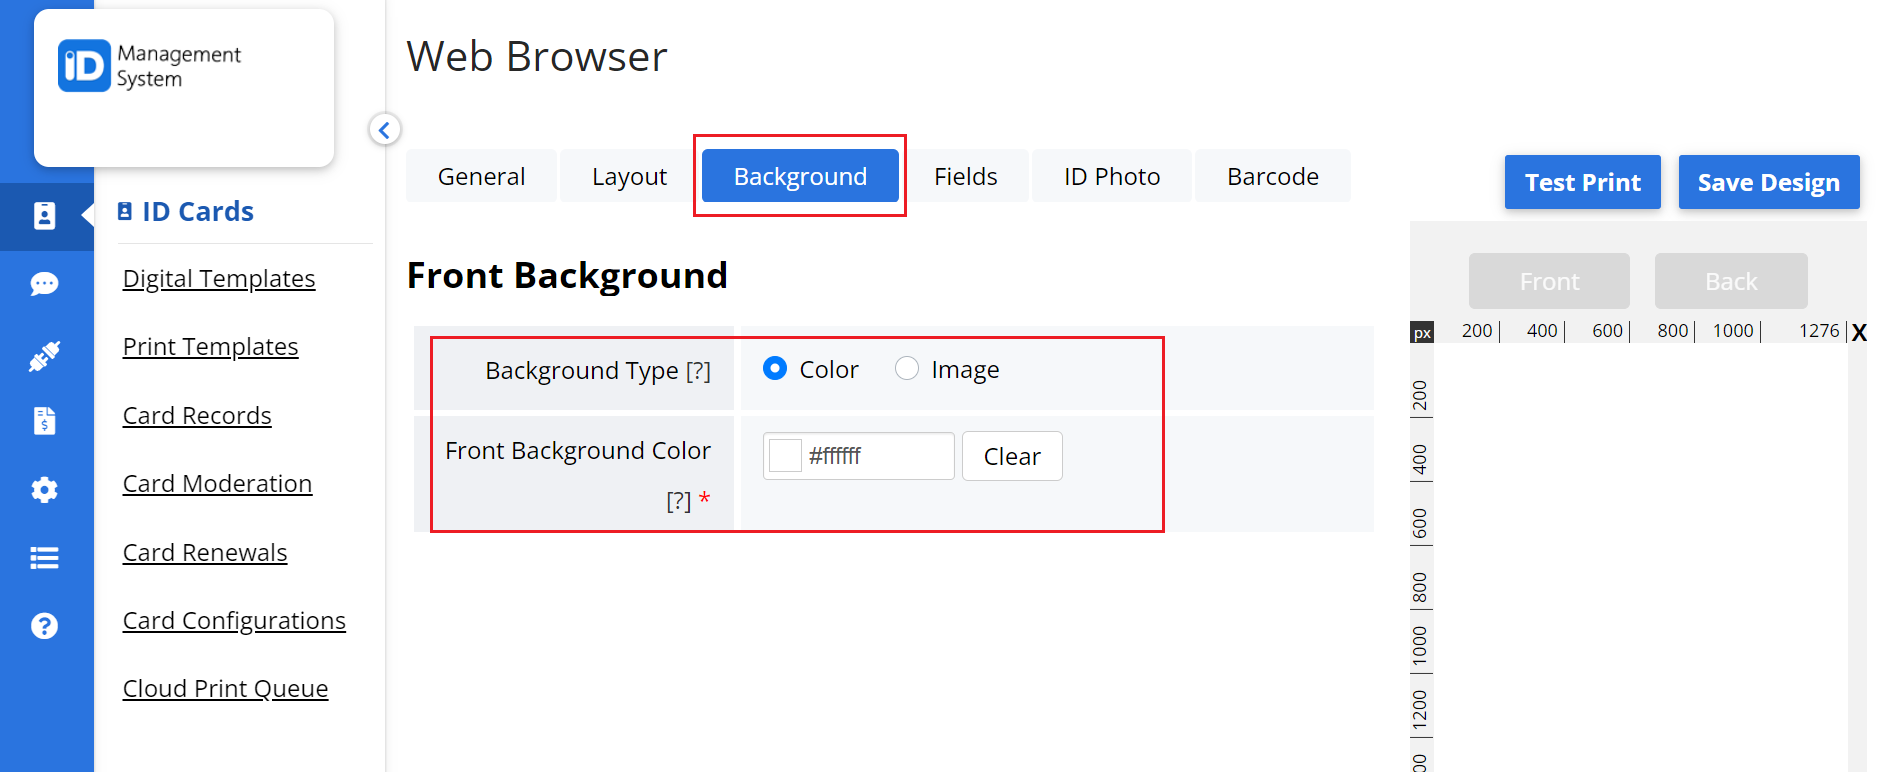
- Choose a Background
- Upload a background image or select a solid color to match your institution’s branding.
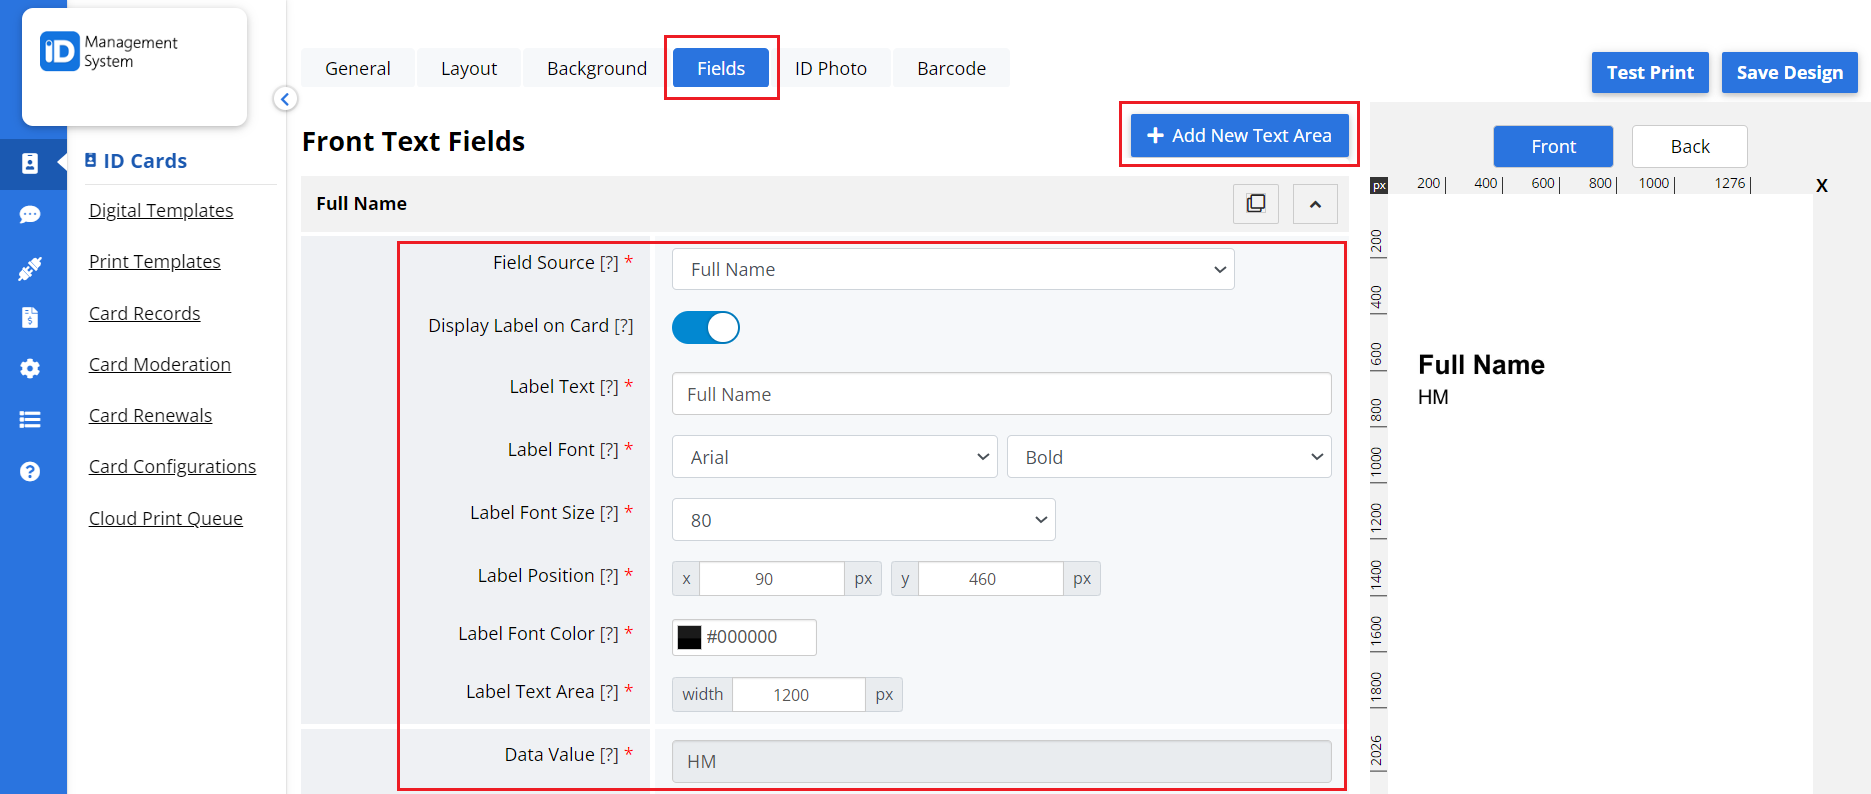
- Add Card Fields
- Include dynamic data fields such as name, ID number, issue date, expiration date, etc.
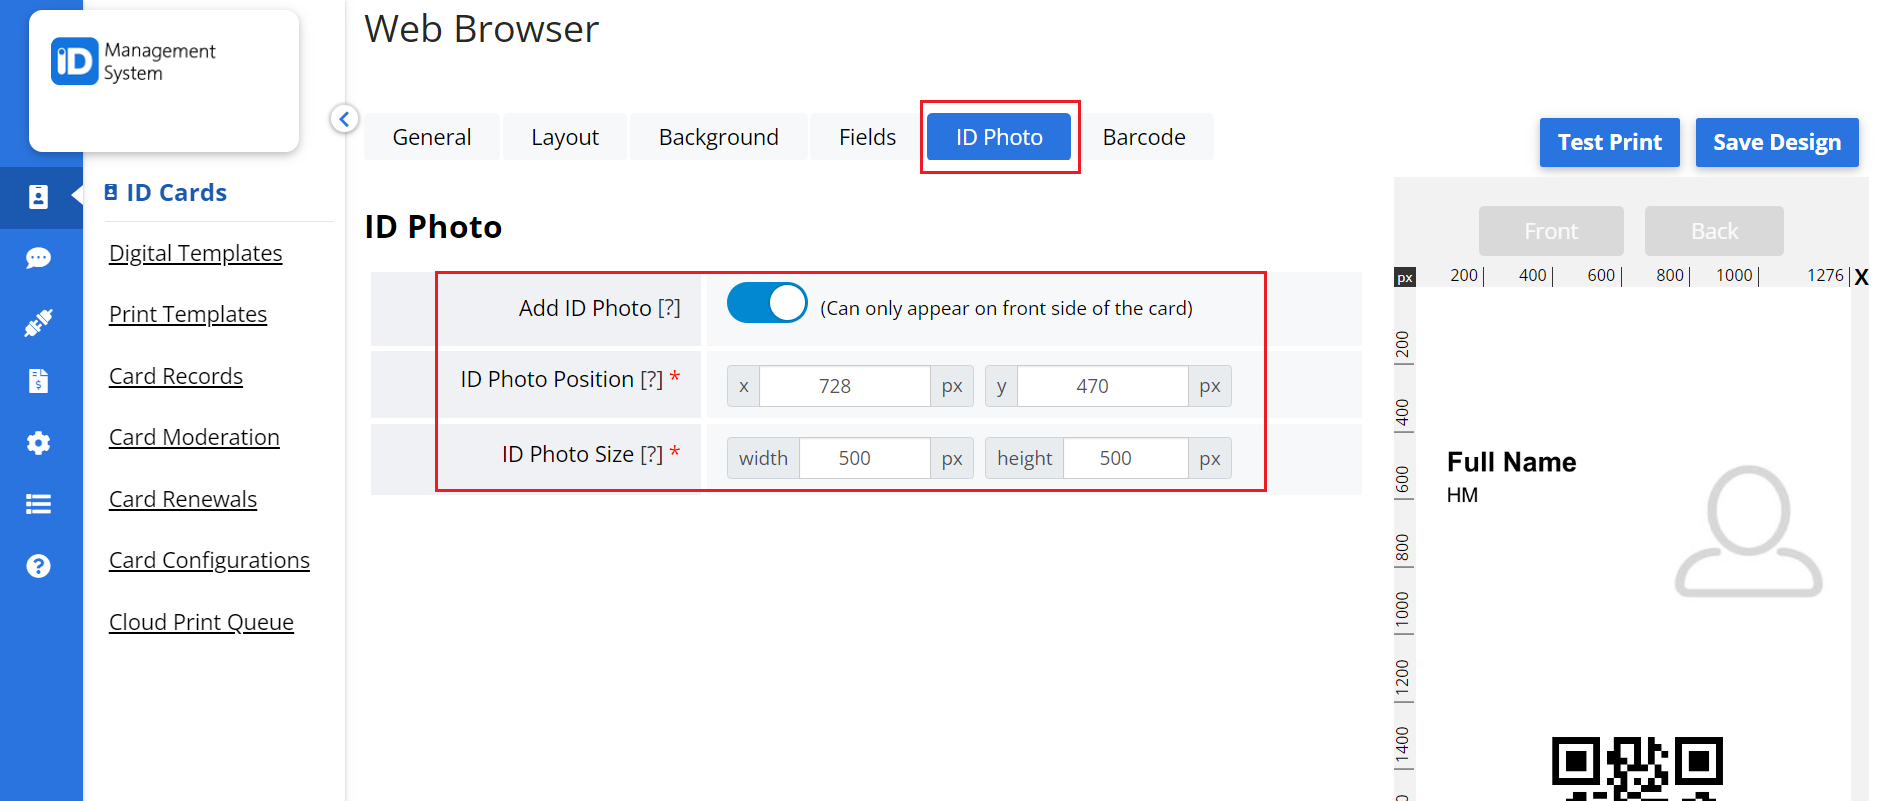
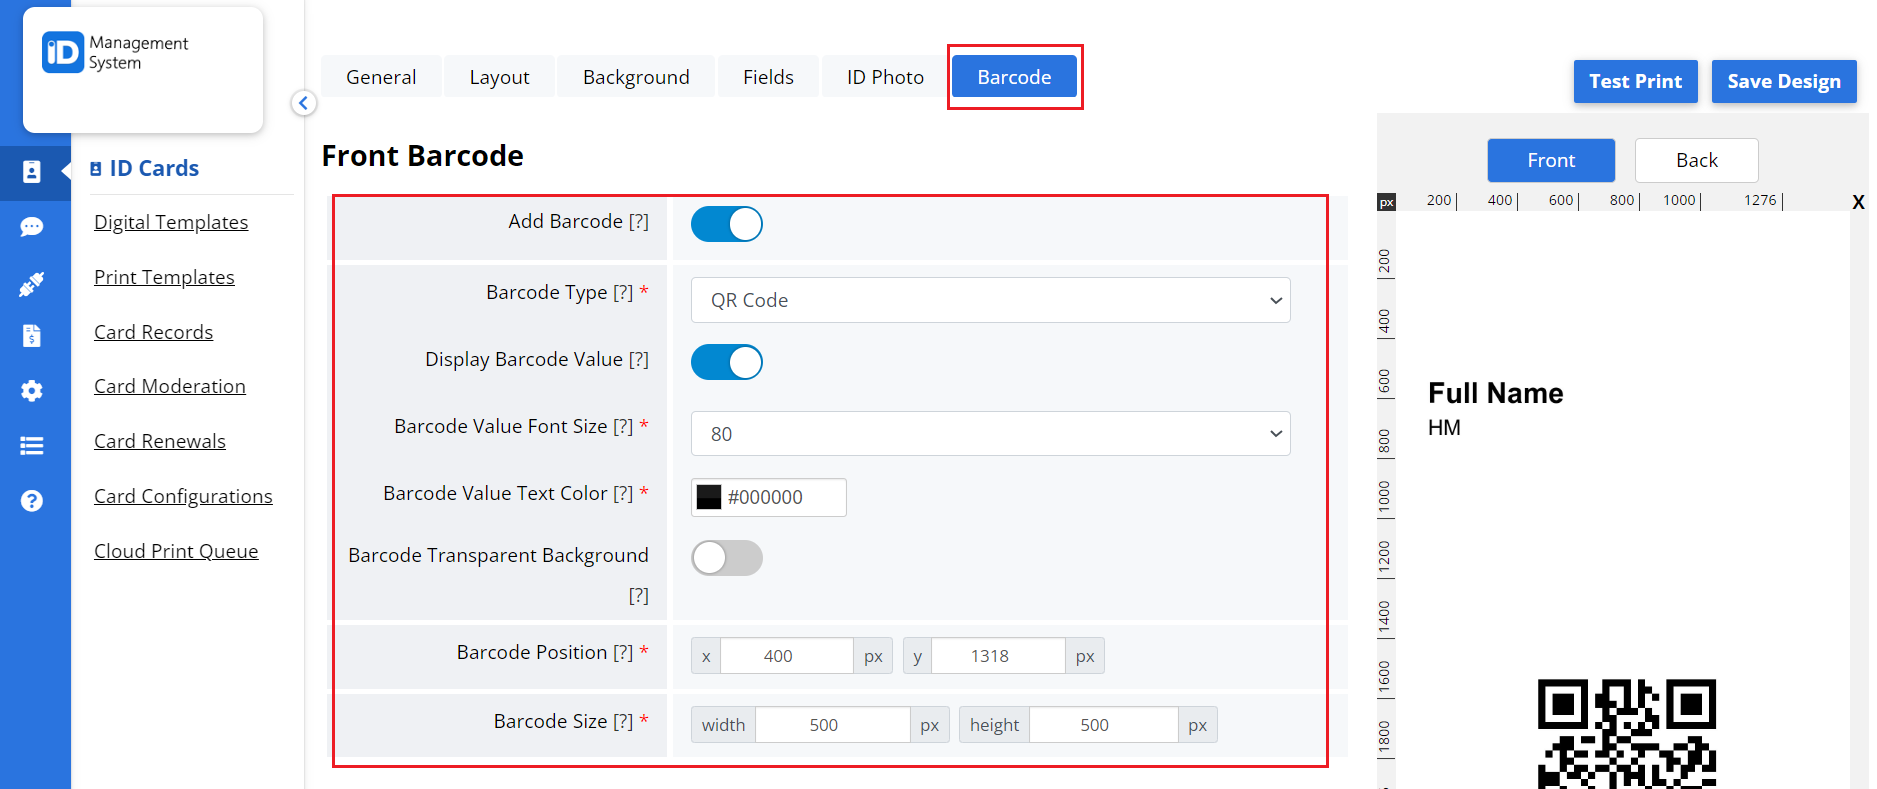
- Enable Optional Elements
- Toggle settings to include a profile photo and barcode for scannability.
Designing your print template ensures consistent formatting and professional presentation of your printed ID cards.
Step 4: Assign an Active Print Template to a Card Group
After designing the template:
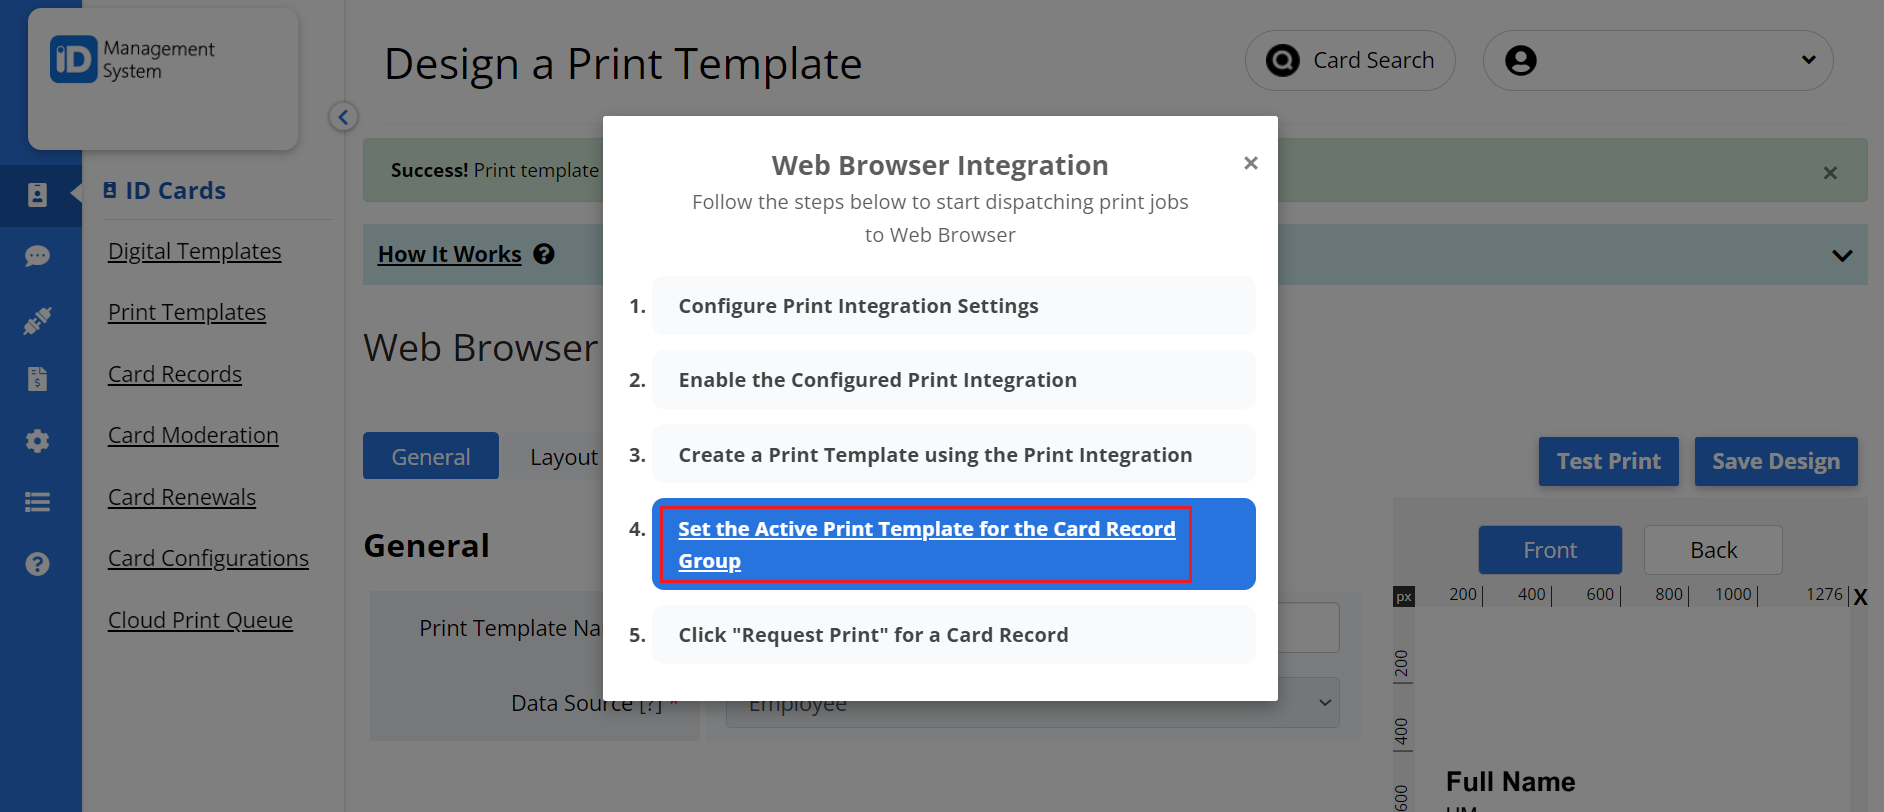
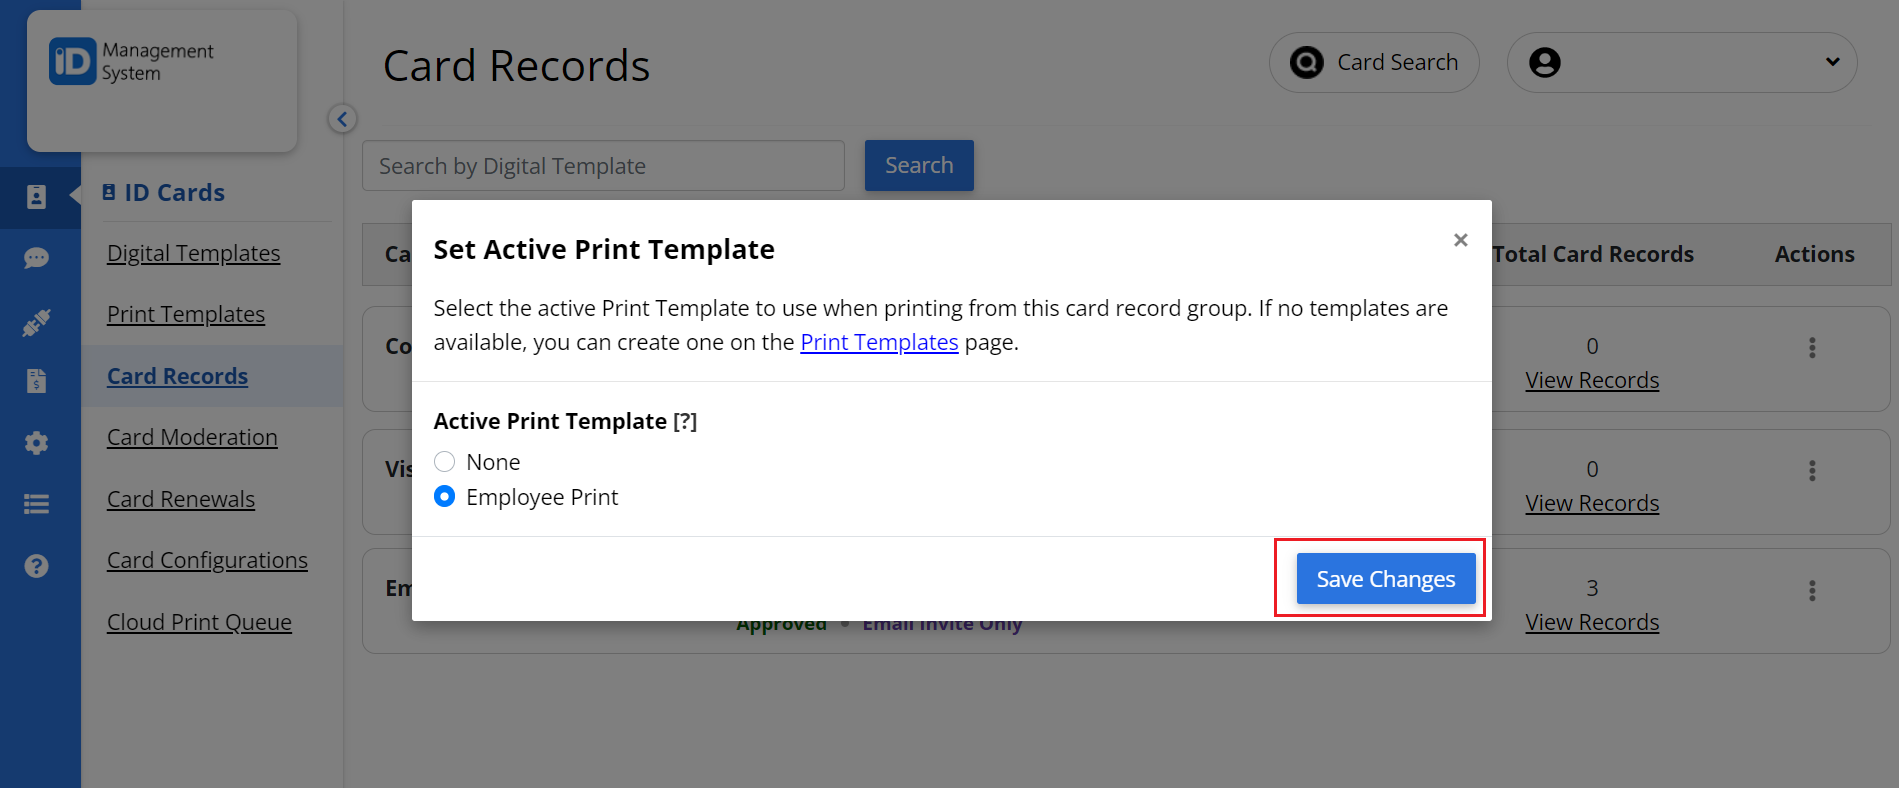
- Go to your Card Record Groups.
- Select the group for which you want to enable ID card printing.
- Choose your new print template as the “Active Print Template”.
- This links the template to a specific set of cardholders for batch printing.
Step 5: Print Physical ID Cards
To start printing:
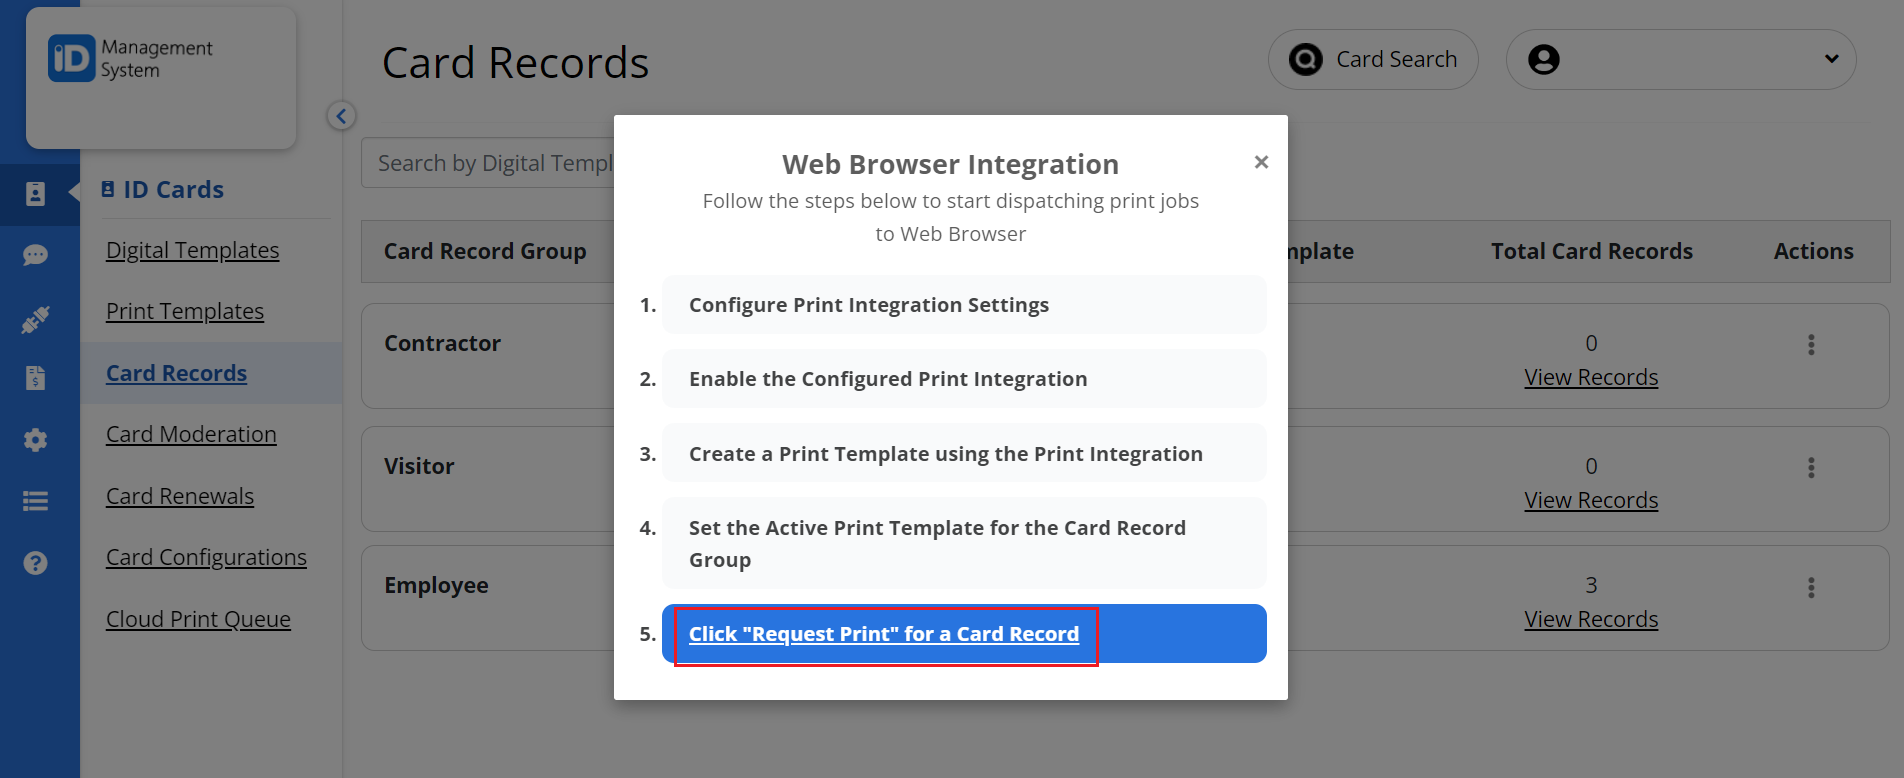
- Click the “Request Print” link.
- You’ll be redirected to the Card Records page.
- From there, select individual or multiple records and begin the card printing process.
Your print request will now generate physical ID cards using your selected print design and cloud printing setup.

ID Card Printing Setup Complete!
Congratulations! You’ve successfully enabled ID card printing within ID123. Your institution can now issue both digital ID cards and professionally printed physical ID cards using a streamlined, cloud-based printing workflow.
