Step 1: Check Your Email for the Card Invitation
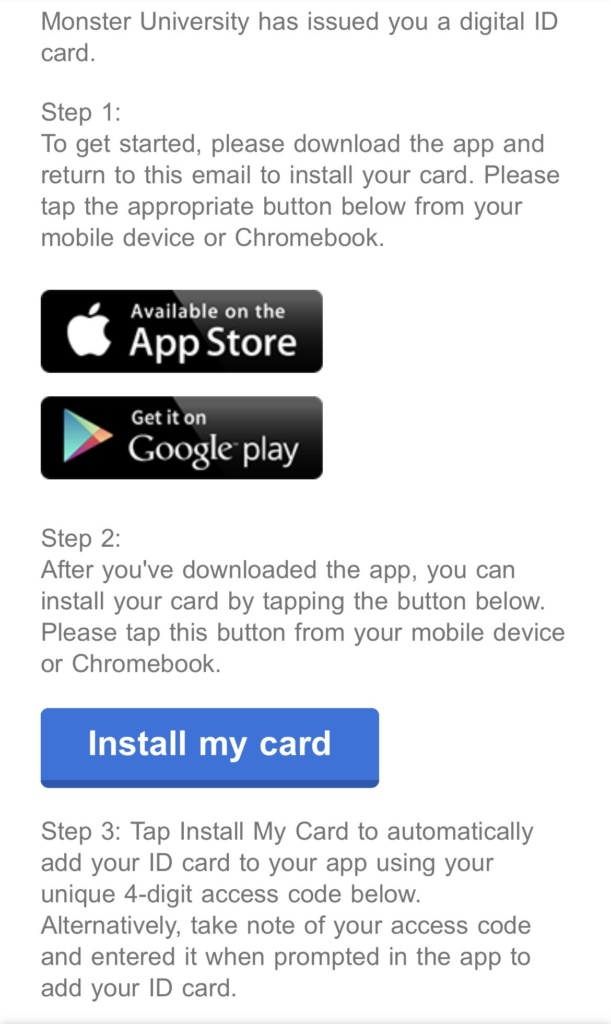
Your institution or organization will send you an official email invitation to install your digital ID card. This email includes all the instructions you need to get started. Didn’t receive the email? Check your spam or junk folder. If it’s still missing, contact your ID card administrator for assistance.
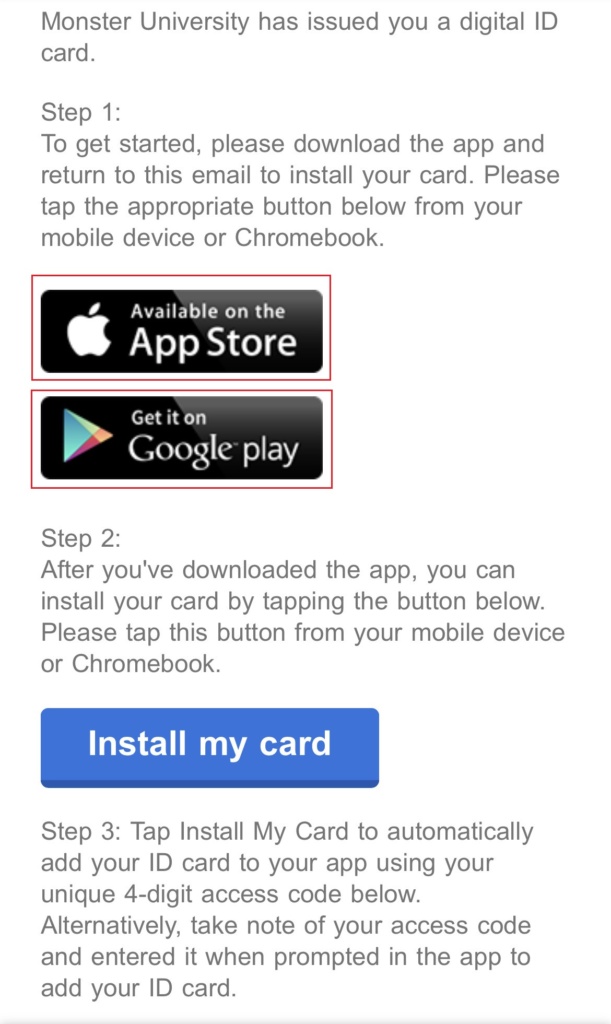
Step 2: Download the ID123 App
In the invitation email, tap the “Download the App” button. You’ll be redirected to the App Store (for iPhone users) or Google Play Store (for Android users), depending on your device.
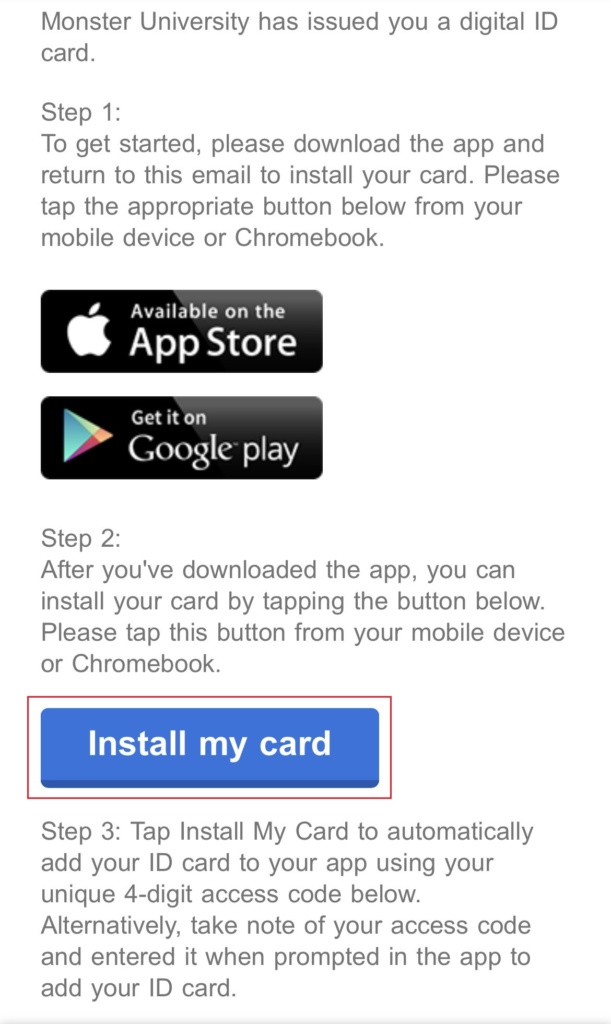
Step 3: Tap “Install Your Card” in the Email
Once you’ve installed the app, return to the invitation email and tap the “Install Your Card” button. This action will open the ID123 app and automatically create your account. Be sure to open the email on the same mobile device where you installed the ID123 app.
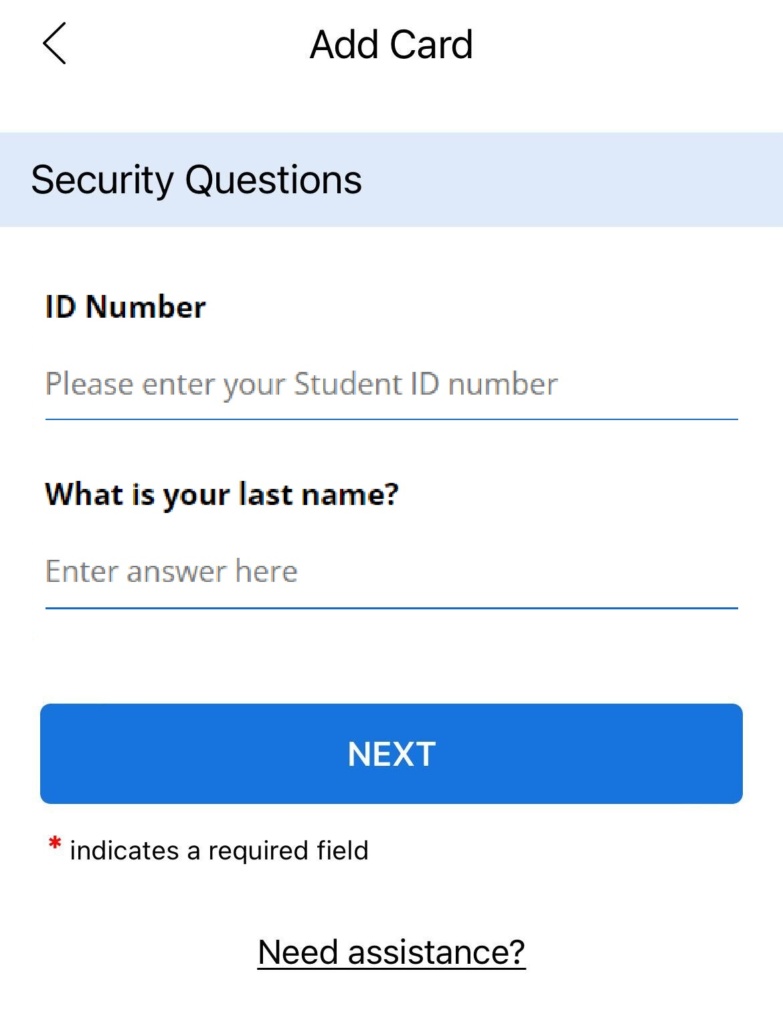
Step 4: Verify Your Identity by Answering Security Questions
After tapping “Install Your Card,” you’ll be prompted to answer security questions to confirm your identity. This step helps protect your information and ensures only authorized users can access their digital ID cards.
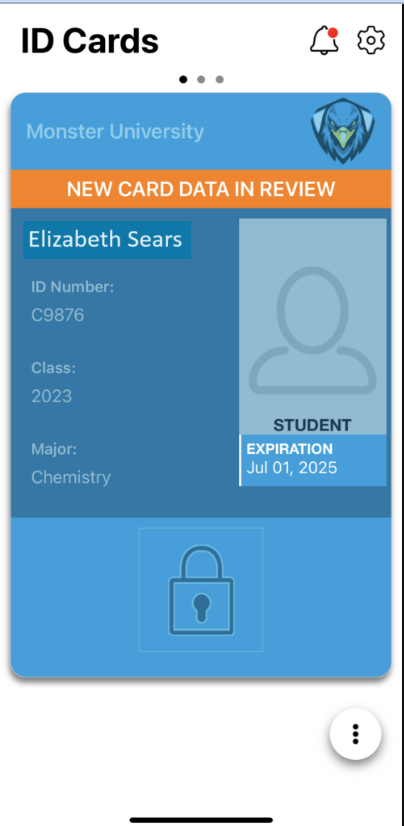
Step 5: Wait for ID Photo Approval (If Required)
Some institutions require manual ID photo approval before your card is fully activated. If this applies to your card:
- You’ll receive an email notifying you once your photo is approved.
- If your photo is rejected, follow the instructions in the email to upload a new one that meets your institution’s guidelines.
Need Help?
If you encounter any issues while installing your card via email invitation, contact your card administrator or reach out to ID123 Support.

