Keeping your digital ID card up to date is essential for proper identification. Follow this step-by-step guide to easily add or update your ID photo within the ID123 mobile app.
Step 1: Log In to the ID123 App
To begin, open the ID123 app on your mobile device and log in using your registered email address and verification code, if prompted.

Step 2: Access the “More” Menu
Once logged in, locate your digital ID card and tap the three-dot menu icon (•••) located below the card. This opens the “More” options menu.

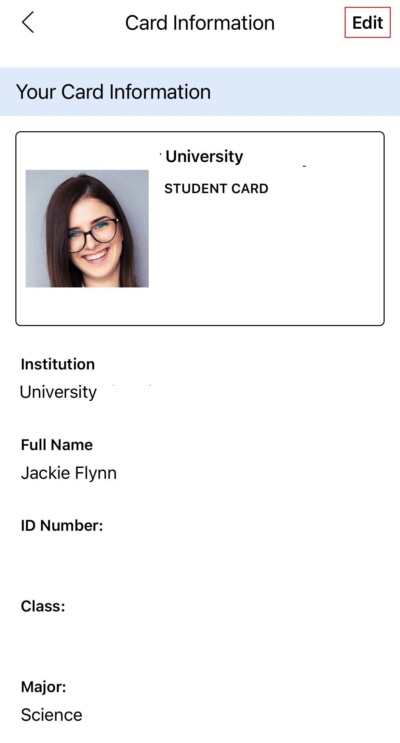
Step 3: Open Card Information
From the menu, tap “Card Information”. On the next screen, tap the “Edit” button in the top right corner to make changes to your card details.


Step 4: Tap “Change Photo”
Scroll down to find and tap the “Change Photo” button.

Step 5: Choose or Capture a New Photo
You’ll now be prompted to either:
- Take a New Photo: Tap “Take a Photo” to open your camera and snap a new image.
- Upload an Existing Photo: Tap “Choose from Existing Photos” to select a photo from your device’s gallery.
Note: Make sure to grant the ID123 app permission to access your camera and photo gallery when prompted.

Step 6: Accept the New ID Photo
After selecting or capturing your ID photo, tap the “Accept” button to confirm your changes.

Step 7: Proceed to the Next Step
Tap the “Next” button to continue the process and review your updated information.

Step 8: Submit Your ID Photo
Finally, tap the “Submit” button to upload your new photo to the ID123 app. Once submitted, your ID photo update is complete!

Need Help?
If you encounter any issues while uploading your photo, please reach out to our support team. We’re here to help!
