Installing your digital ID card through the ID123 app is a simple, step-by-step process. Follow the instructions below to register, access your institution’s invitation, and securely install your mobile ID card.
Step 2: Register Using Your Institution Email Address
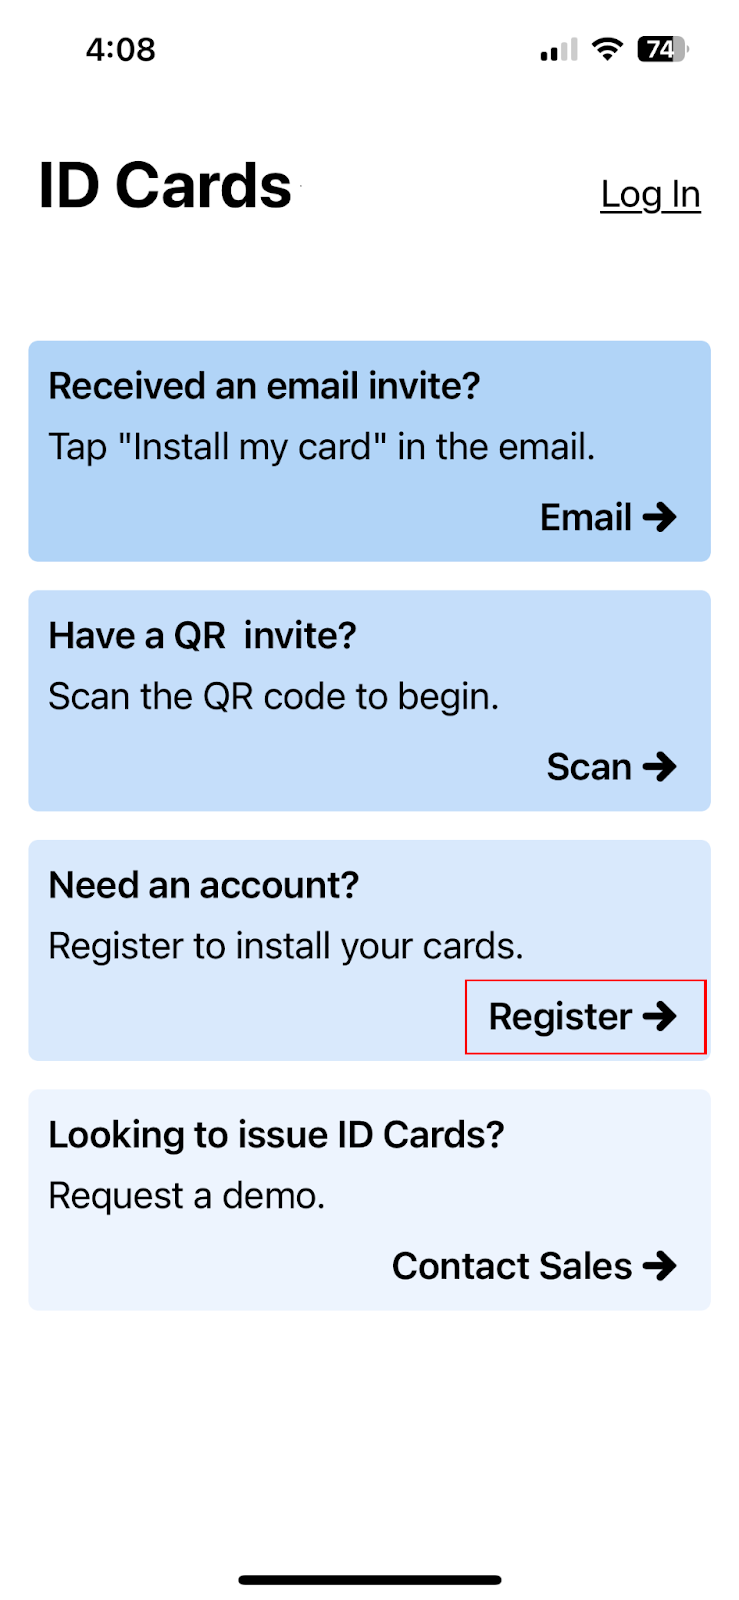
Open the ID123 app and tap “Register”.
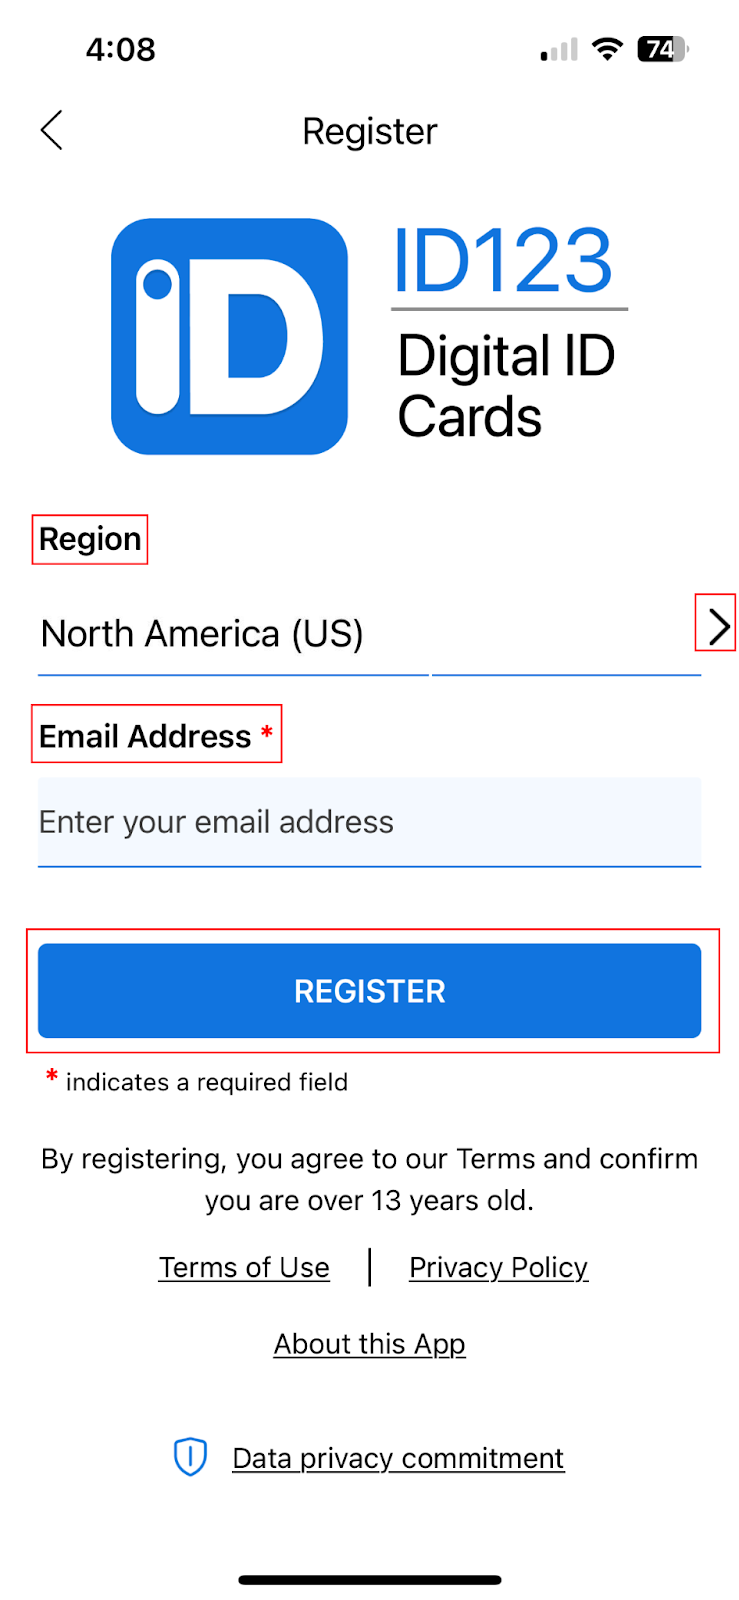
- Enter the email address your institution has on file.
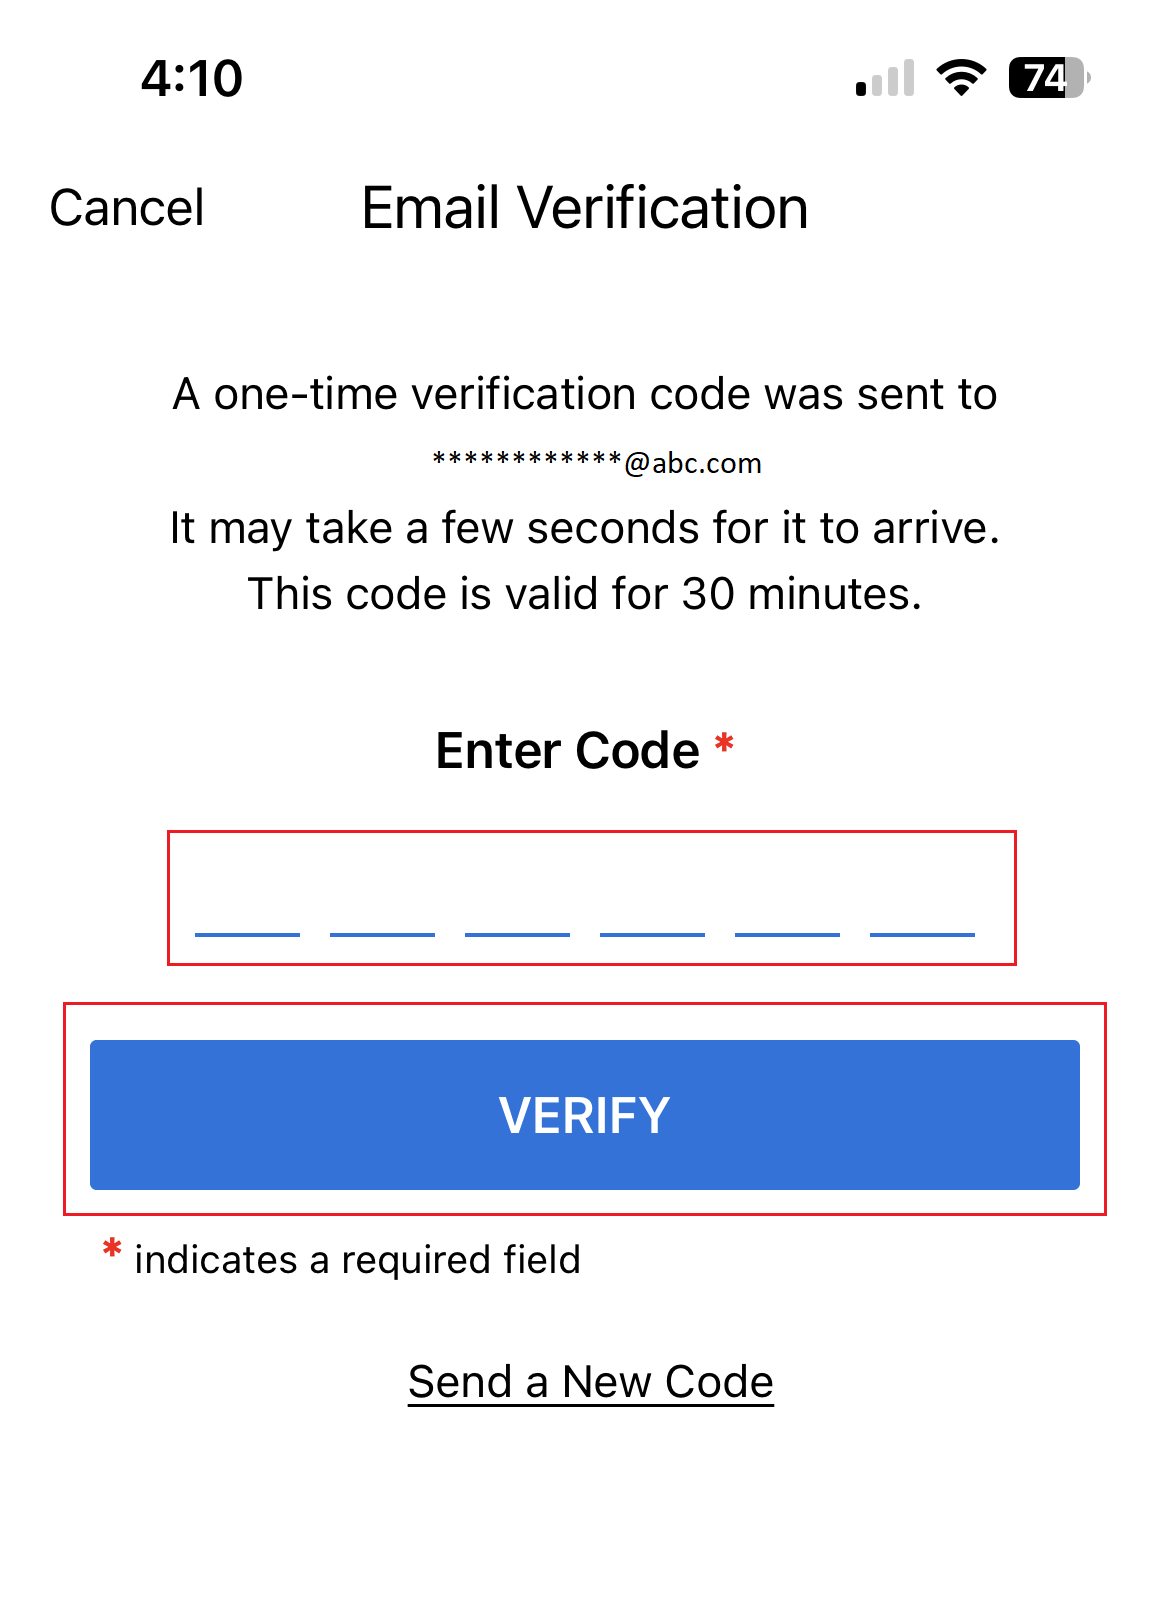
- You will receive a verification code sent to that email.
- Enter the code in the app and tap “Verify” to complete your registration.
Important: You must register using the exact email address your institution has on record. If you’re unsure, please contact your institution before registering.
Step 3: Open the In-App Invitation
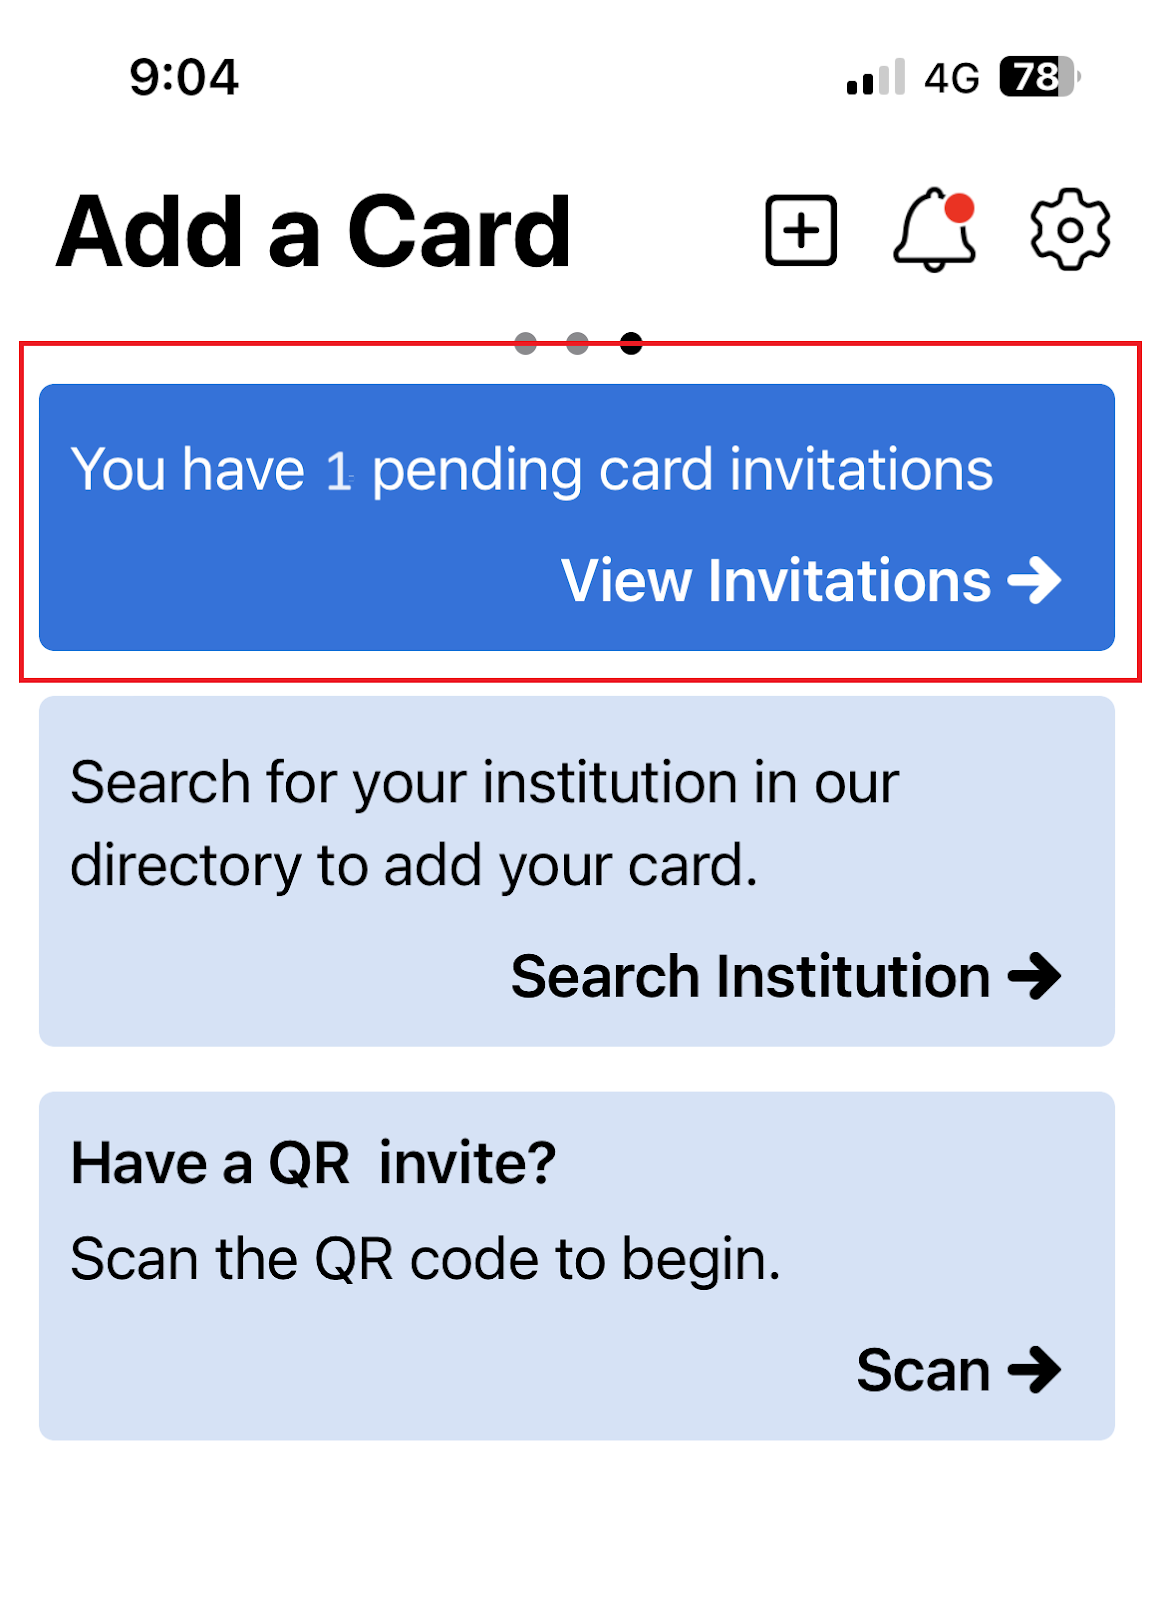
After registration, you should see an in-app invitation from your institution.
- Tap the invitation notification to begin the ID card setup.
- If you don’t see an invitation, double-check that you registered using the correct email.
- If the email is incorrect, log out and re-register using the proper email.
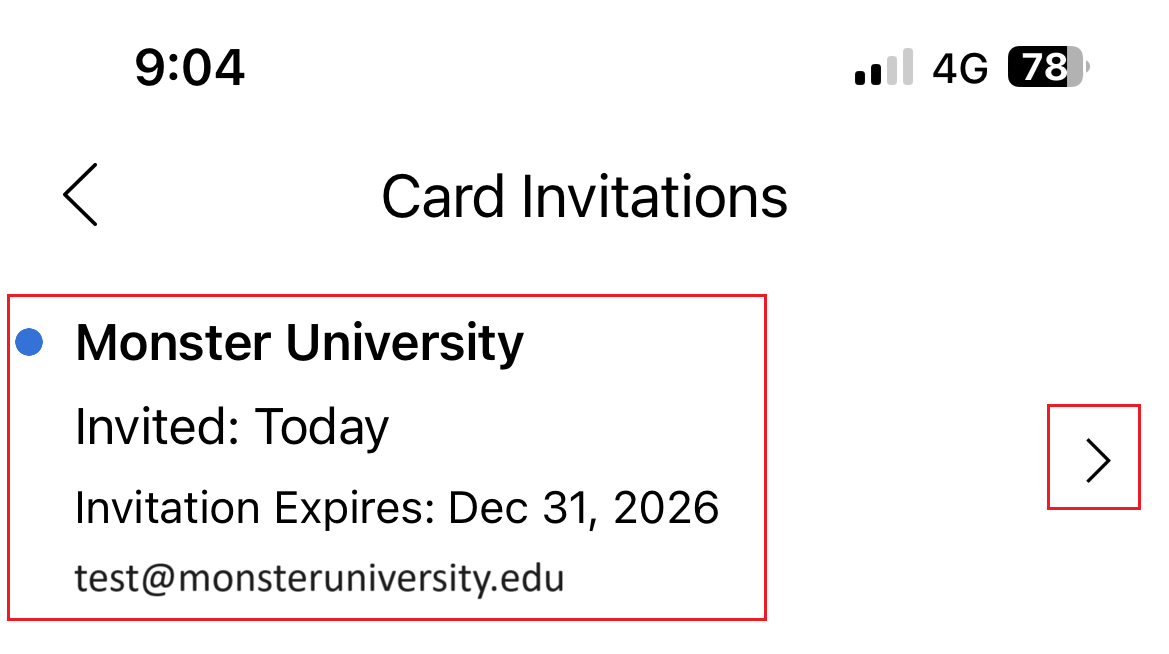
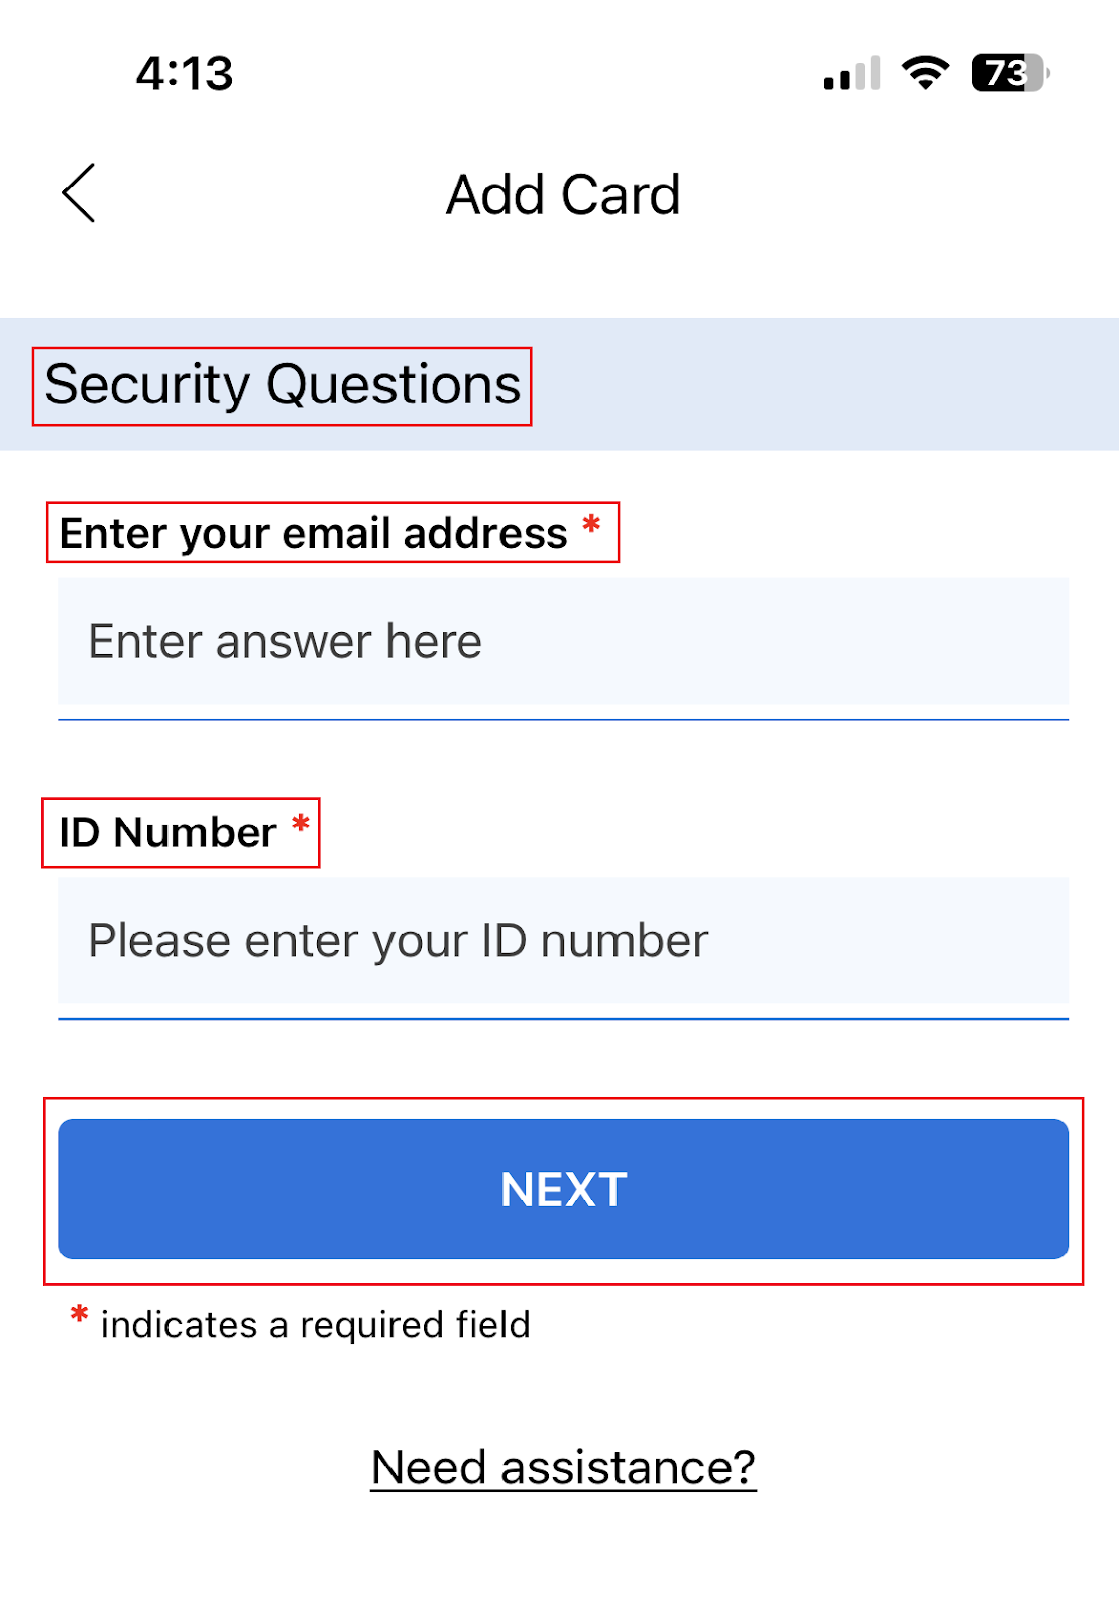
Step 4: Confirm Your Identity
Follow the on-screen prompts to verify your identity.
- Your institution may request specific information, such as your name, student ID number, or other identifying details.
- Enter all required fields accurately.
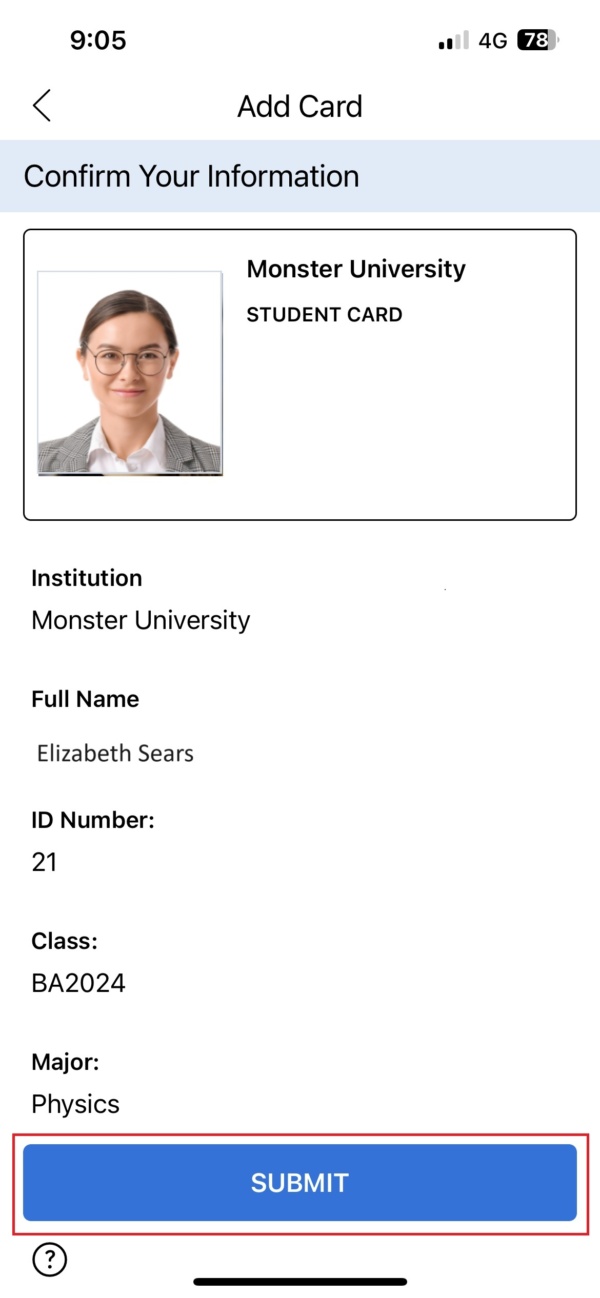
Step 5: Submit and Install Your Digital ID Card
Once you’ve verified your identity and filled out any additional information:
- Tap “Submit”.
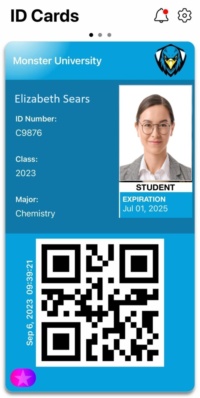
- Your digital ID card will be installed in the ID123 app.
- You can now access your card anytime from your phone.
Need Help Installing Your Mobile ID?
If you’re having trouble with registration or card installation:
- Confirm you’re using the correct email.
- Contact your institution directly for support.
- Or reach out to ID123 Support for technical assistance.


